Master Your Post-Production Workflow
Whether you love the editing process or not, as a photographer, editing is part of the job. There’s no way around it! I started in film photography, added in digital, and I’m still a hybrid photographer today. The bones of my aesthetic and my particular look have always been present in my work, but I’ve spent years refining my eye, compositions, and of course, my post-production editing. It takes practice to consistently create great images, on the front- and the back-end. All these years later, I’ve created a set of presets and profiles, in partnership with Refined Co. Presets that have perfected my post-production workflow—and most importantly, my final images. And below, I’m going to share my top tips for using the KT Merry Presets. But first, a little background…
Why Hybrid?
Why I Shoot Film and Digital
I credit shooting film, and particularly, medium format film, with helping me to develop into the photographer I am today. The trust I had to learn, the steadiness of composition, the detail of manual focus—it taught me so much. And today, it’s what continues to keep me inspired. I watch and observe how the medium has carved my husband and second shooter Chad into an artist as well. The transformation from shooting digital to film is undeniable.
So many of you, and my past self included, might ask, ‘If you love a medium so much, why the heck would you shoot anything else?’ Enter: the real world. If I was an artist shooting for myself in the mountains of Arizona—say, a photographer-version of Georgia O’Keefe—I would shoot only medium format. Or anything else that inspired me that day! However, when I made the decision to make photography my livelihood, and to serve real-life clients and moving, breathing, wild weddings, I was thrust into the constraints and limitations of the real world. Most of which, I am not in control of.
“The transformation from shooting digital to film is undeniable.”
This means that I need to create beautiful work regardless of the lighting situation, the weather, and the speed at which something happens. I’ve found that I need multiple tools, digital included, to be able to pull that all off at the level I want to perform. I also didn’t want to sacrifice color, texture, or light just because I chose to shoot one medium over another, based on the fact that that particular tool performs better in that situation.
And thus, my quest began.
As I worked for years to refine my film workflow, exposure and color, I did the same with my digital work. I was lucky to have years of experience working as a digital technician for fashion photographers before embarking on my own business. However, despite having that background, I still spent countless hours wrestling with color in Lightroom.
How It Happened
Working with Refined Co. Presets
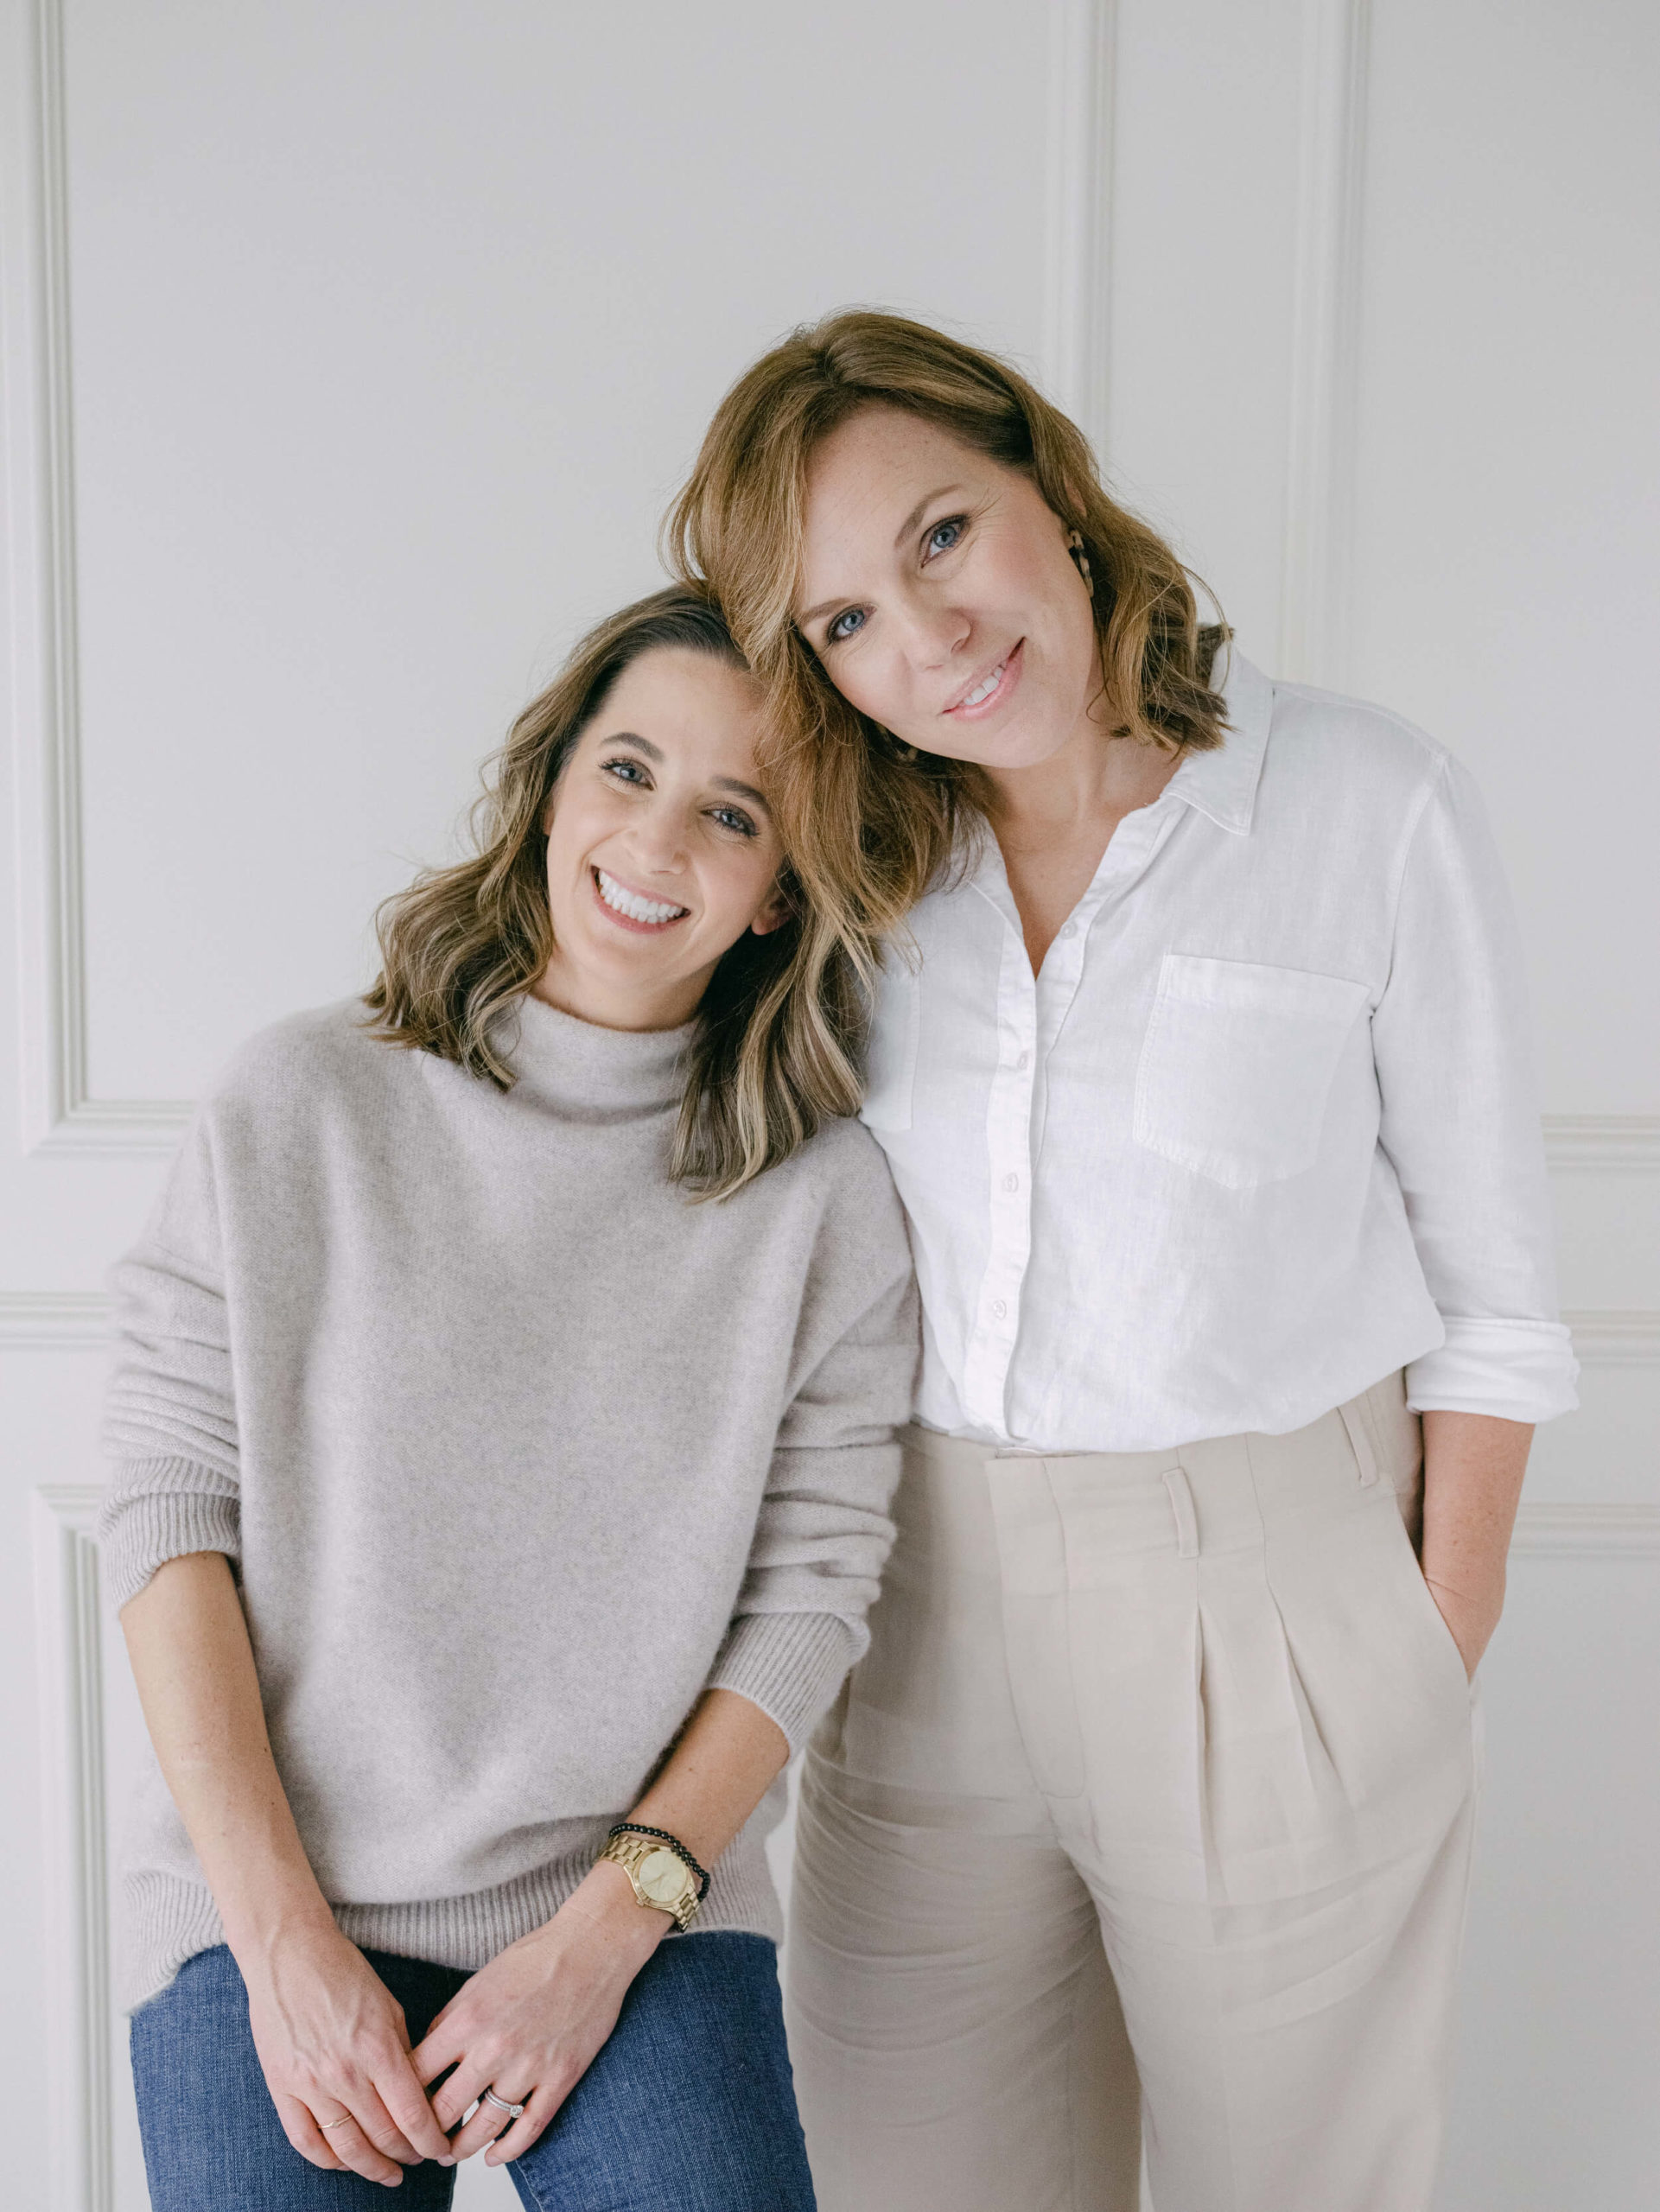
Before I found Refined Co. Presets, I did all my digital post-production and editing myself. I was overwhelmed, overworked and burnt out (anyone relate?). I found Marta at Refined Presets and we’ve been working together for a few years now. We’ve perfected that elusive film look that can be so hard to nail down with digital files. And let me tell you, it took a while. As in, literal years.
We started with color presets, moved to black and white, and now we have complete color, black & white and mobile sets.
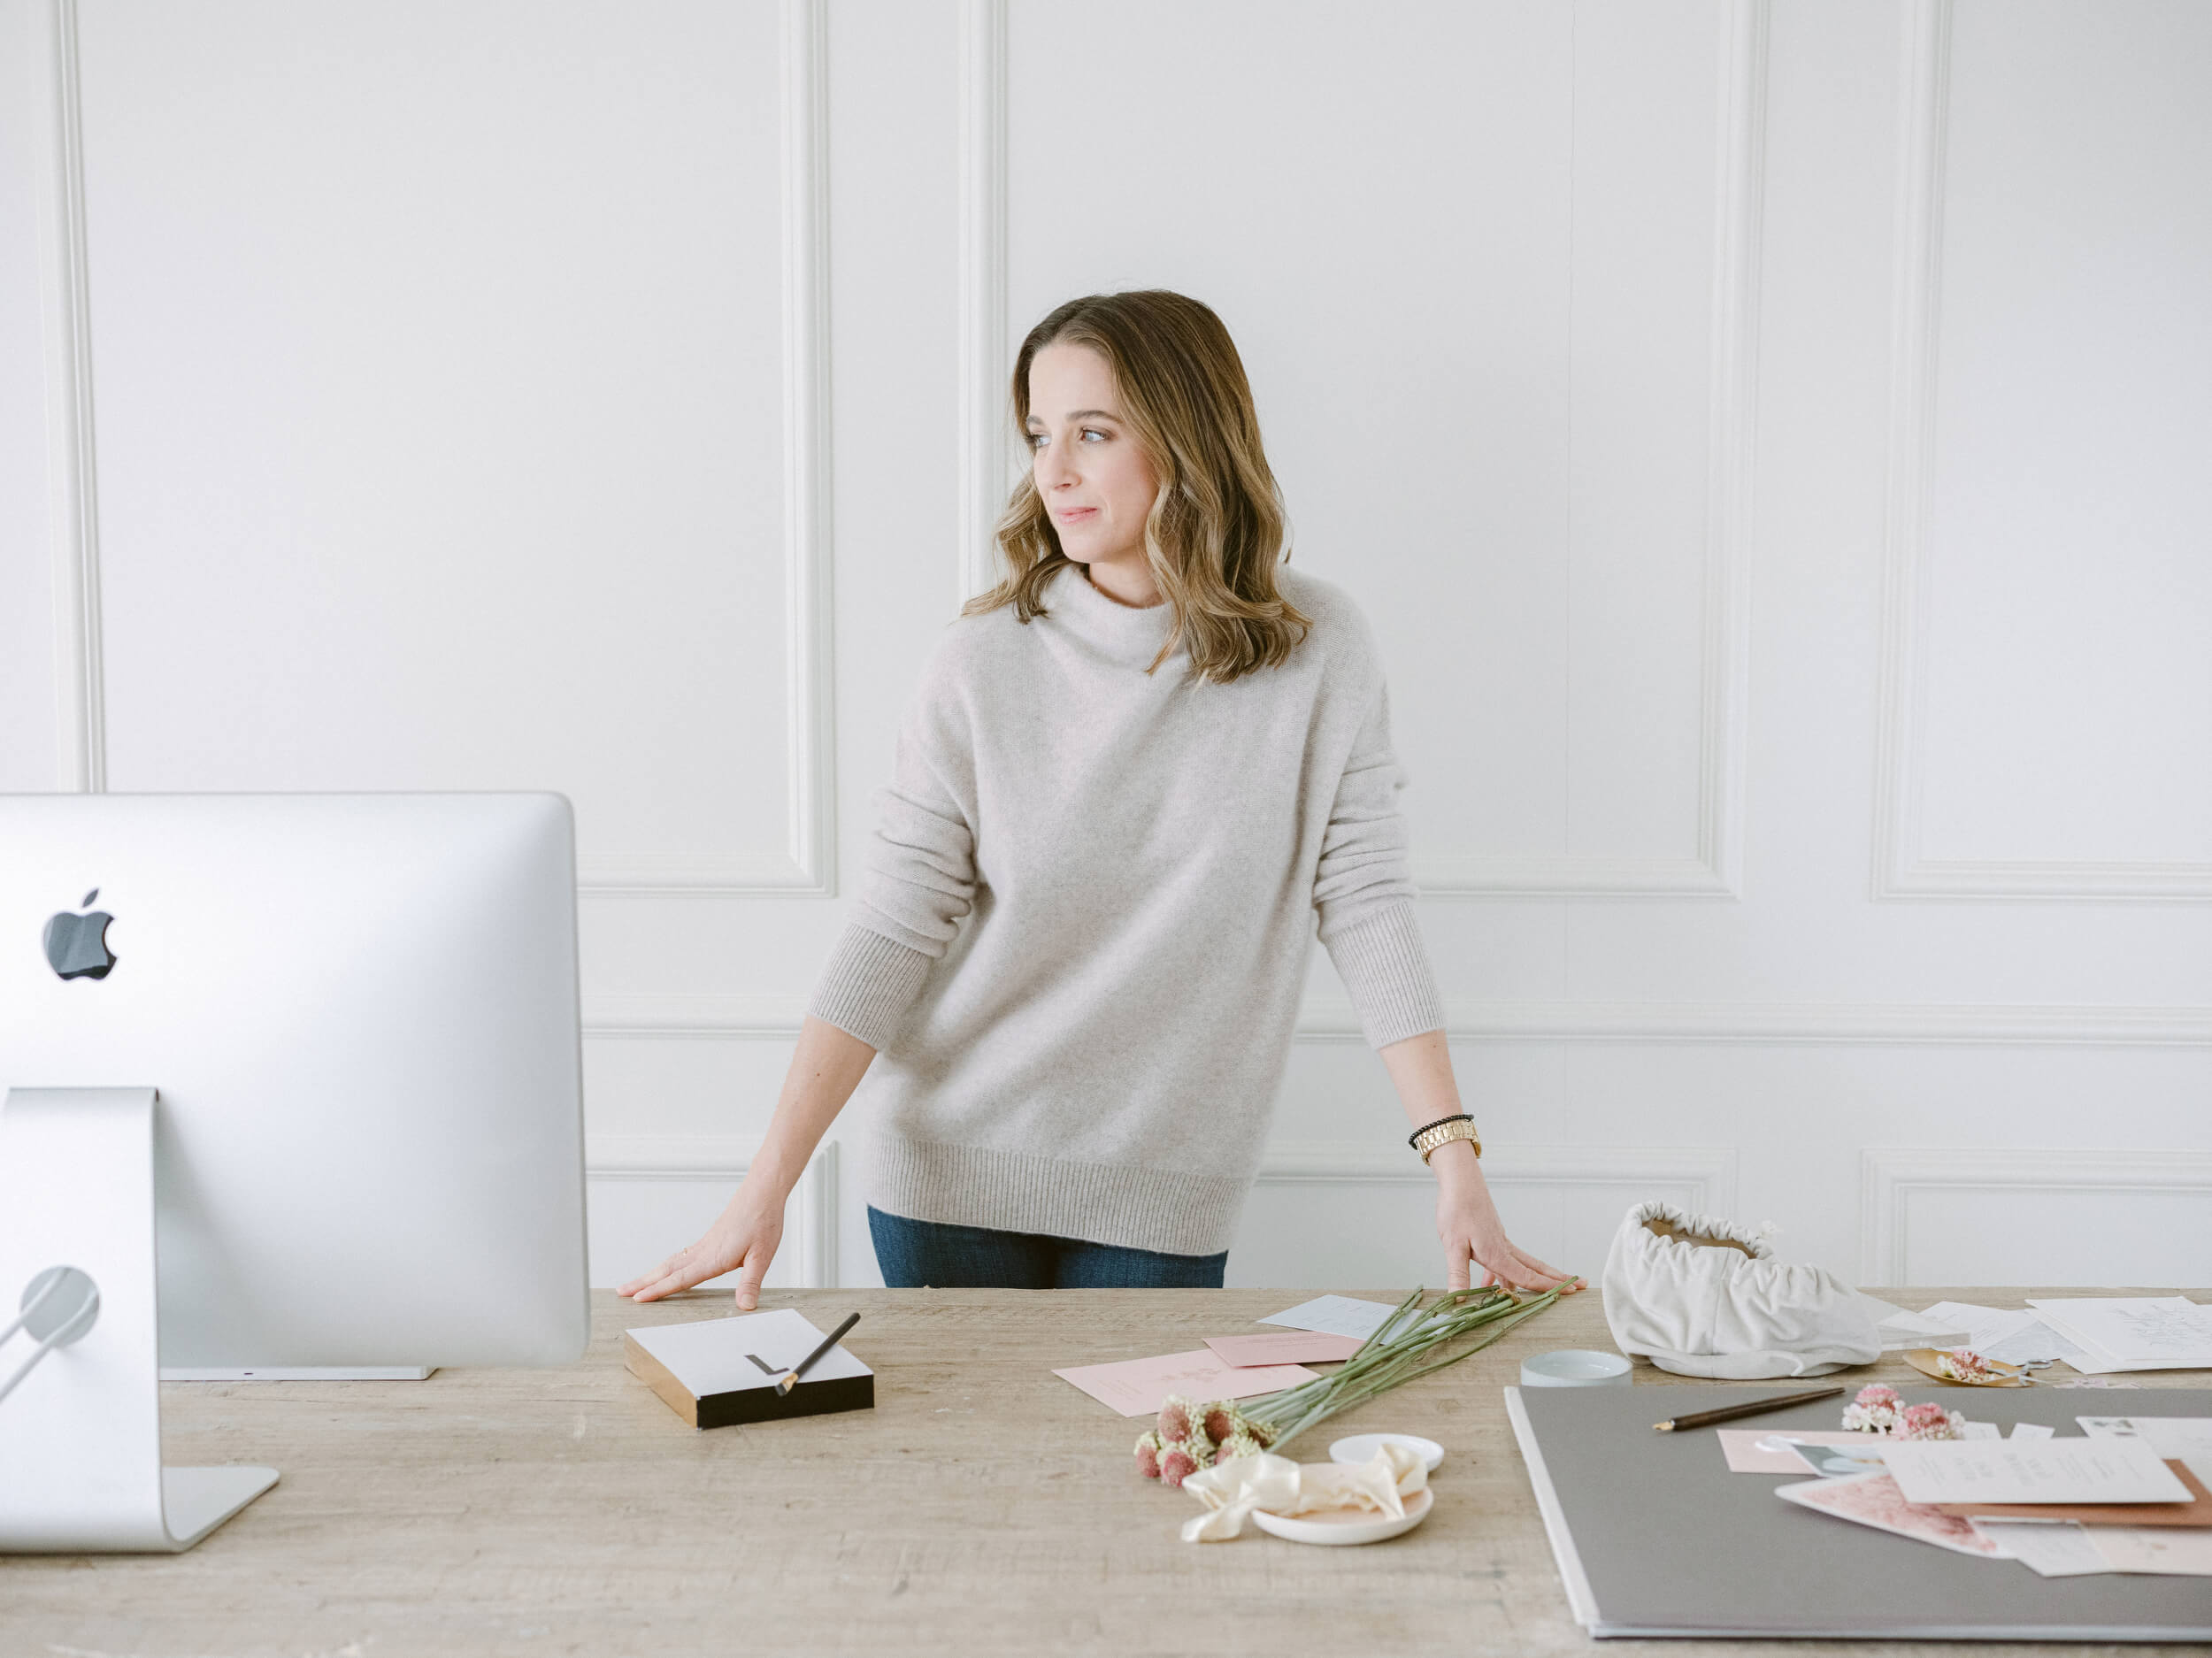
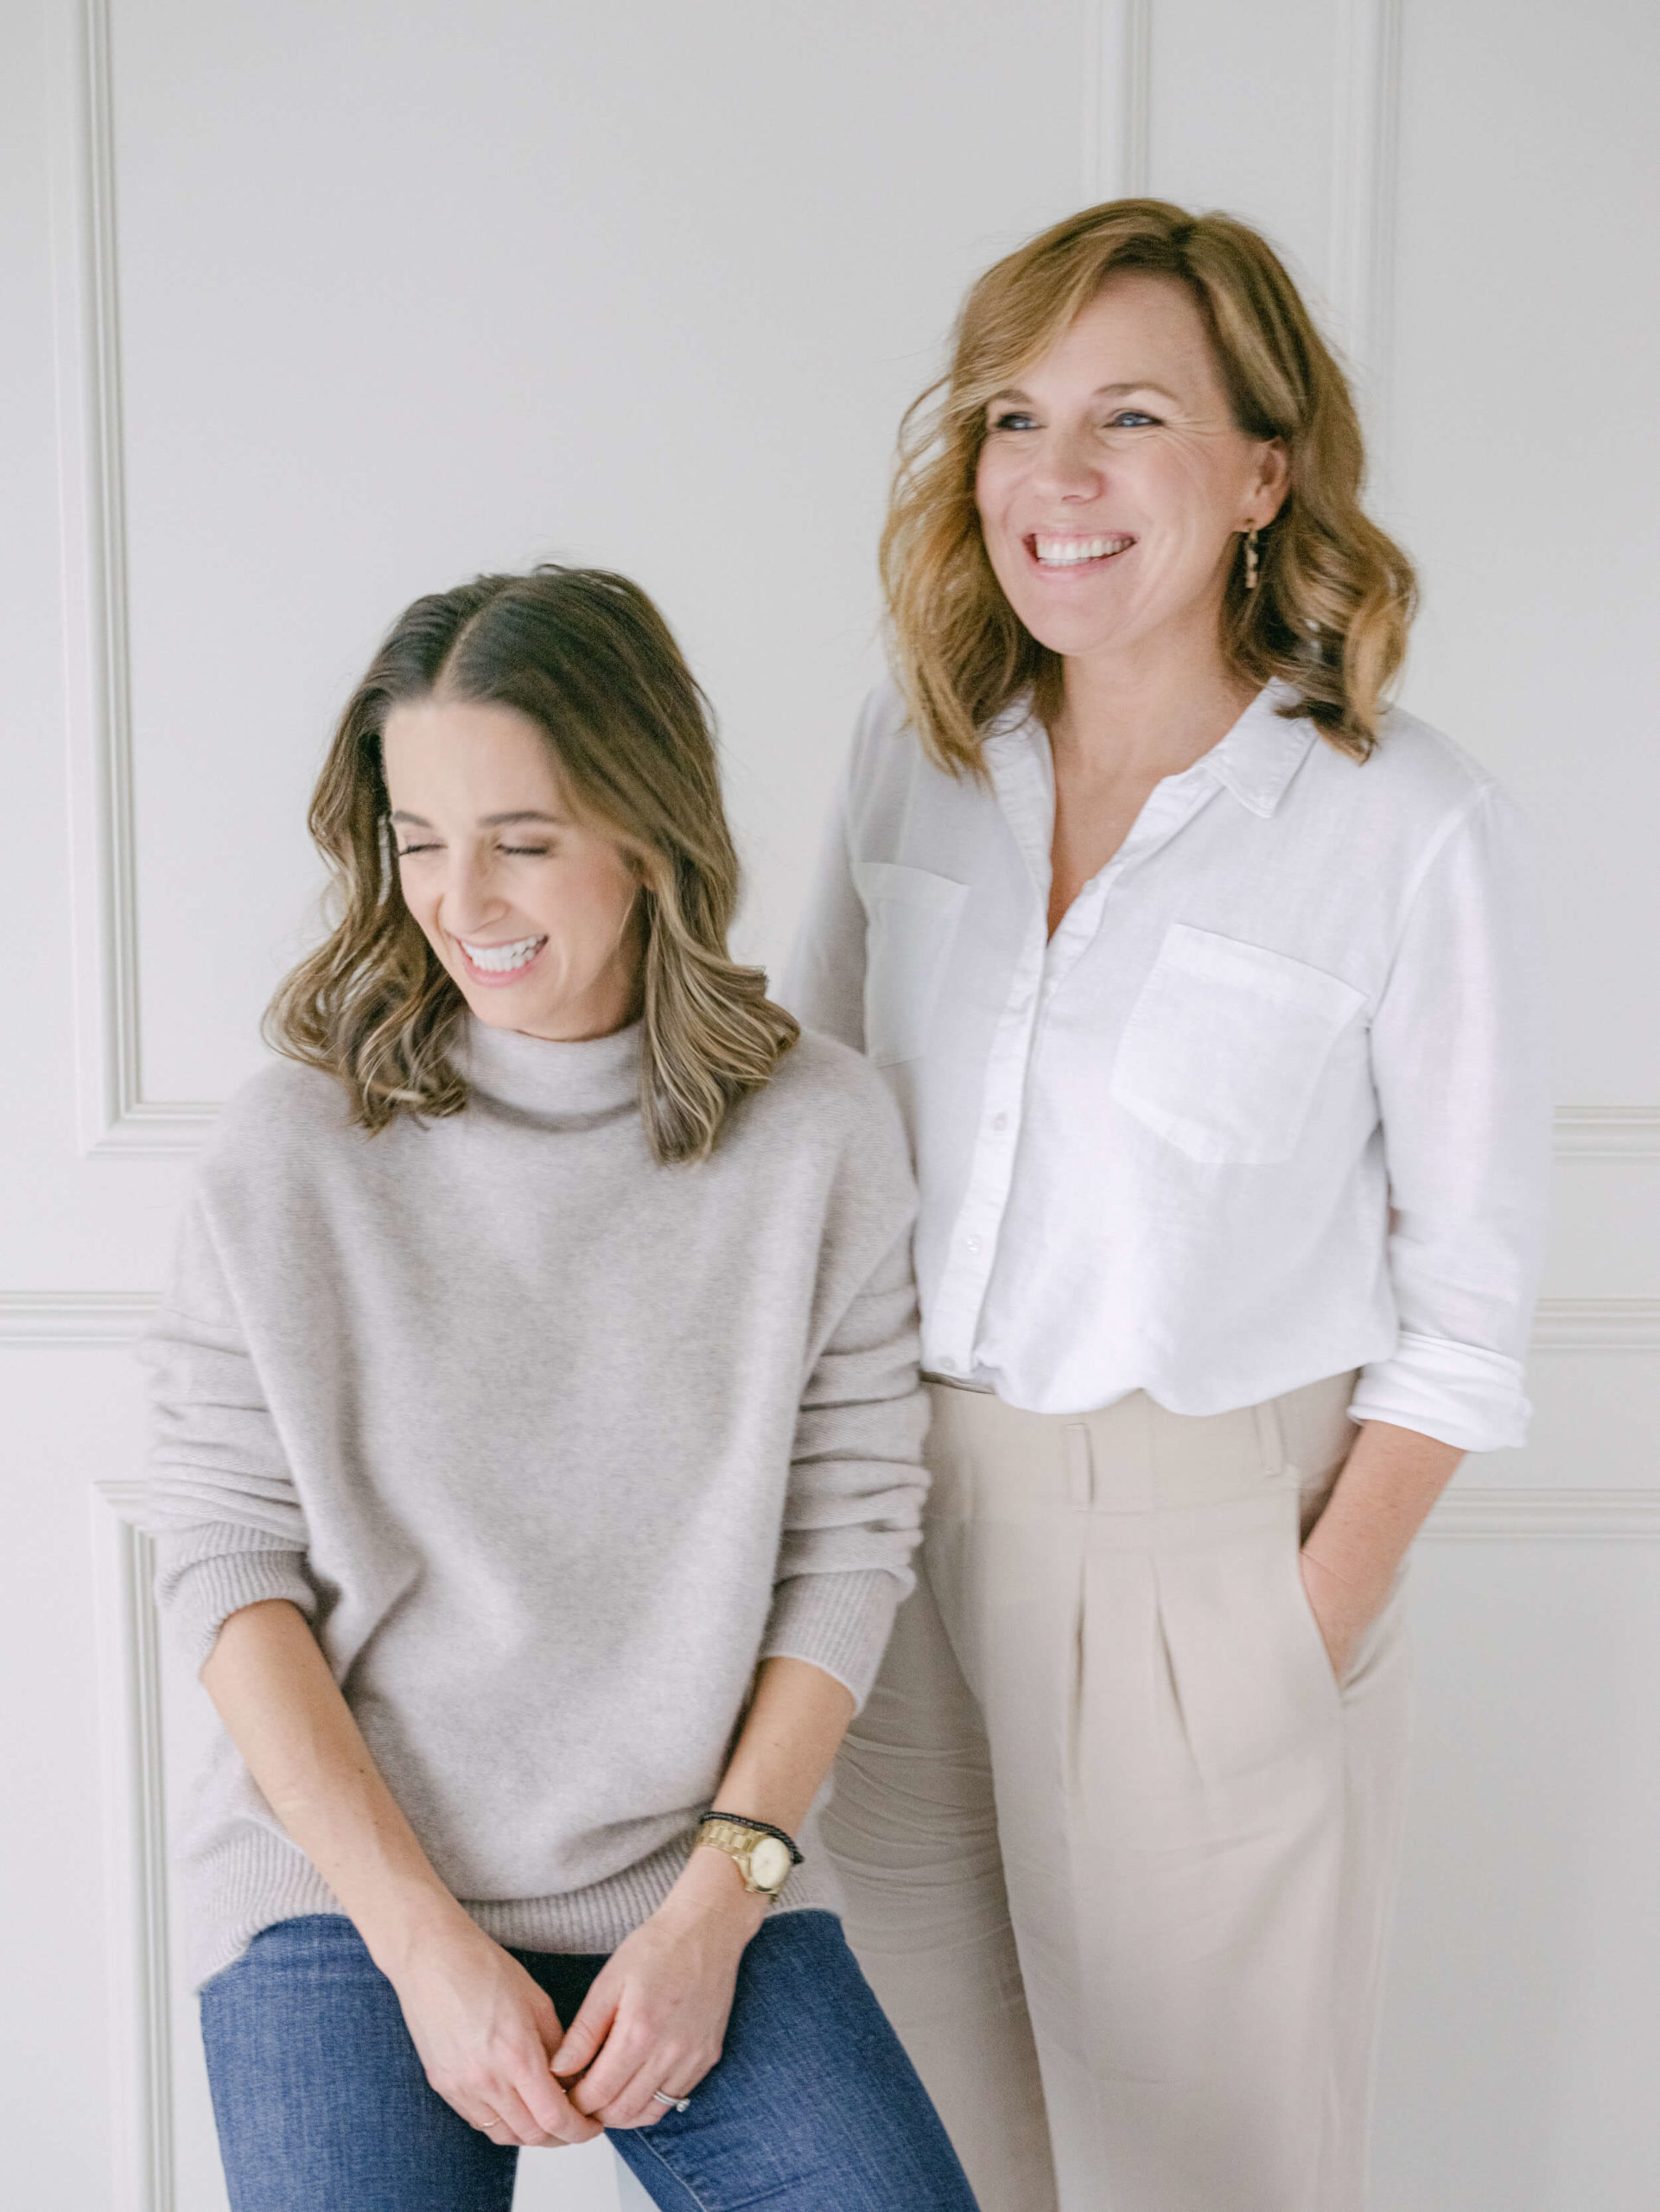
Marta’s background is in fine art; she draws, paints, works in ceramics, and in other fine art forms. So she has a very refined eye for digital editing. So much of hybrid editing workflow is knowing and being able to match color and tone, light and shadows, and no one knows these better than an artist.
Marta became a photographer at the same time that she became a mom, and she started shooting and selling stock photography early on. She’s been working on my images for years, and, truth be told, we never set out to create a preset product. But the presets we developed over years of fine-tuning for my digital work were so good that we couldn’t keep them to ourselves. Within a few clicks, my digital images look just as beautiful as my film, and we knew this time-saver would be a great asset for photographers.
Watch the story behind the presets here:
Getting Started
Post-Wedding Workflow
After I get my film selects back from processing at my lab, I positive-edit my film selects. This means I go through the entire catalog and add a star next to the images that I like (I currently use Photo Mechanic for this process).
Once I’ve done that, I import both my film selects and all my digital images into Lightroom. So all my images are together for one job. Most often I deliver a ‘sneak-peek’ and will quickly use my presets on the digital files I have, before I get my film back, to send over to them.
In Lightroom, I will go through each film image to make a few tweaks to the files. I consider my film selects about 90% ‘there’ when I get them back, so I make “10% tweaks” once they come back to me. This may be straightening the image or making adjustments to color, exposure, highlights and shadows, etc. Once I have my film selects where I want them, I’m ready to positive-edit my digital files to fill in the blanks. Once that’s completed, I send my digital files over to Marta and the preset magic begins!

Presets vs. Profiles
We have created both presets and profiles. They are the same for both, but we know that each photographer has a workflow preference utilizing one or the other, and that is the intention behind providing both. The presets and the profiles should be used separately.
Presets
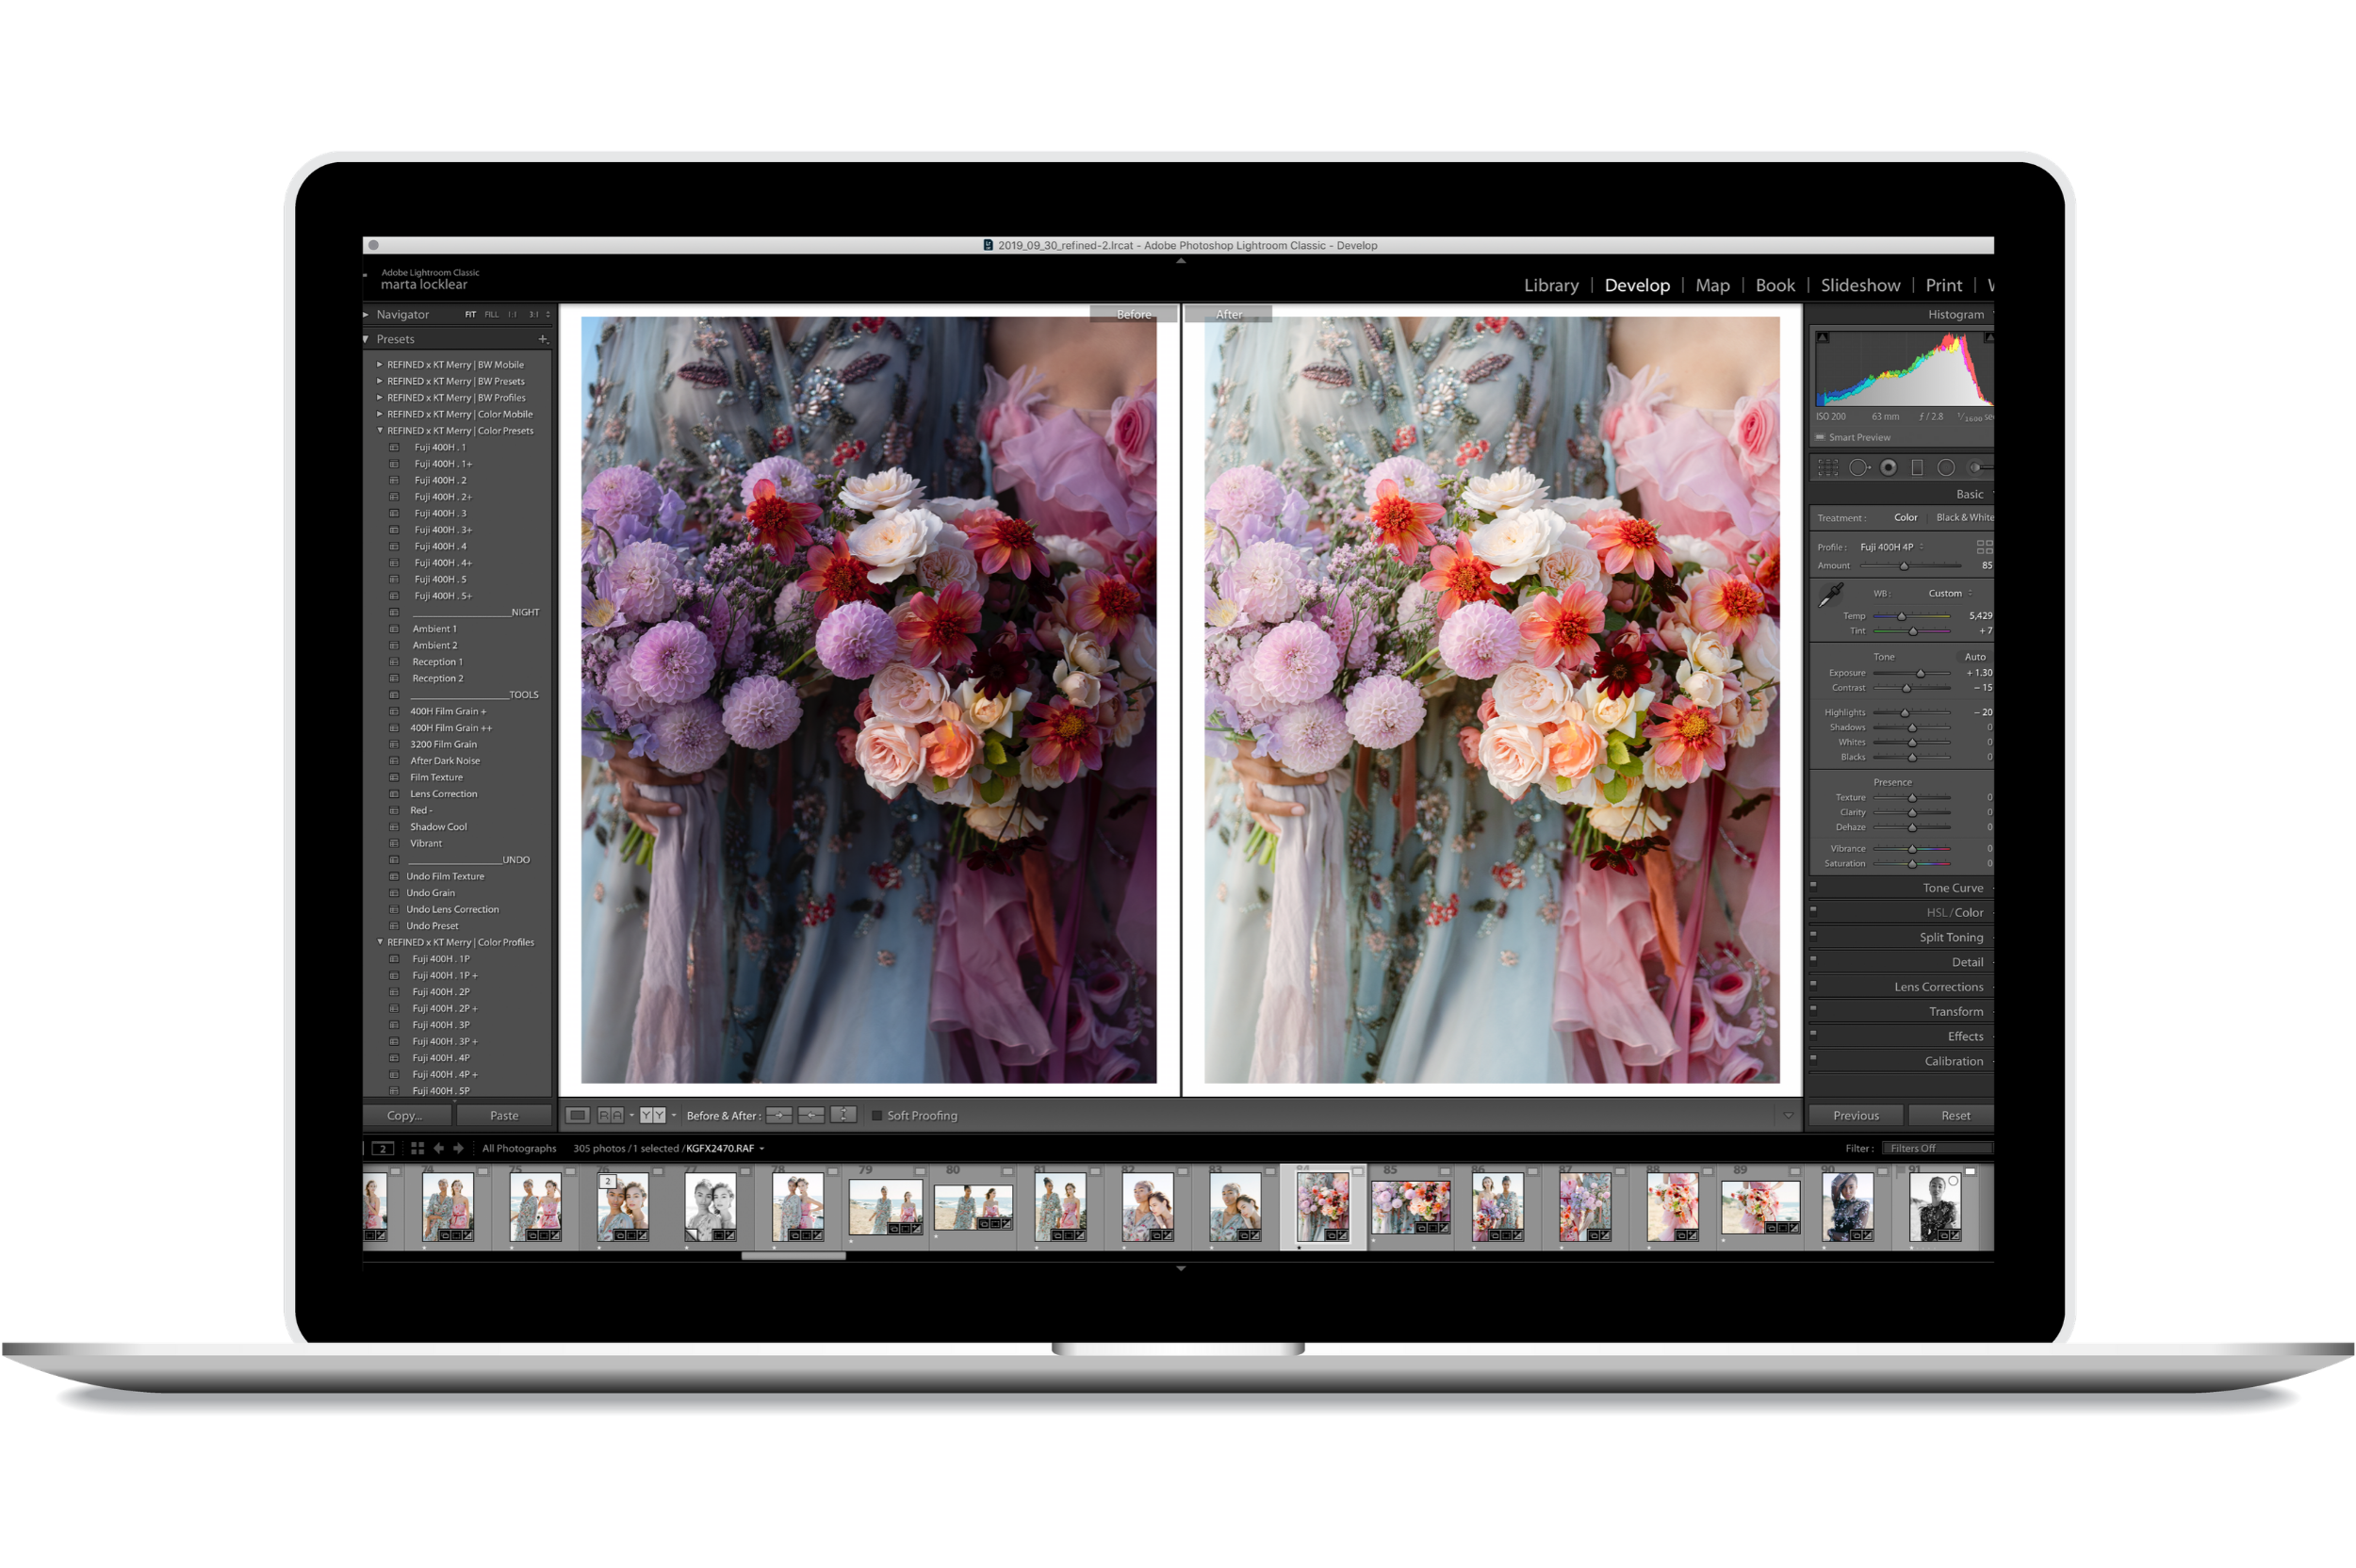
If you use the Presets, you will notice that you’re able to see the changes that have been made to the image on the right-hand side of your Lightroom window. From there, you can then tweak the sliders of each element to your liking. But more on that later!
Profiles
If you use the Profiles, you’ll notice that the changes to the image won’t be visible in the sliders on the right-side dashboard. But you can increase or decrease the intensity of the profile by locking a profile into a layer and then lowering or raising it in opacity. I prefer the sliders of the presets over the profiles. Again, it’s a personal preference and we wanted to provide both options to photographers!
To see the difference, check out this video of Marta showing the presets and profiles in Lightroom:
Tips for Editing
1. Be Consistent.
Consistency is the key to creating a beautiful portfolio of images. When I shoot a job, especially a wedding, I may be working with up to five or more other photographers (including my second shooter and husband, Chad who shoots each and every job with me). So I may be looking at matching several different photographers and cameras to my personal aesthetic. This is why consistency is so important. You want your work to be recognized as your work, and having a cohesive look is the #1 factor in making that happen.
You want your work to be recognized as your work, and having a cohesive look is the #1 factor in making that happen.
On top of that, every lab processes differently. If you sent the same set of film to three different labs, it would come back different from each lab each time. So not only are the sources different, but the processing can be different as well. Thankfully, I love my film lab—Richard Photo Lab—and have gotten to know exactly how my film will come back and what I will likely be tweaking.
Marta’s and my tips for achieving consistency are….
Use Reference Images
When you’re ready to edit an image, select a film image of the same type of lighting, environment and tones that you’re going for. You don’t want to match the light of an interior ballroom with that of a Bali beach; those environments are not compatible. But two outdoor sunset shots with similar tones will pair nicely—ideally, film and digital shots from the exact same situation.
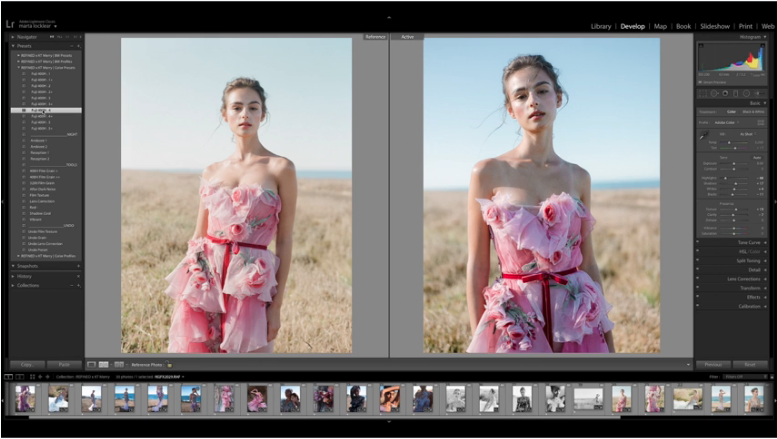
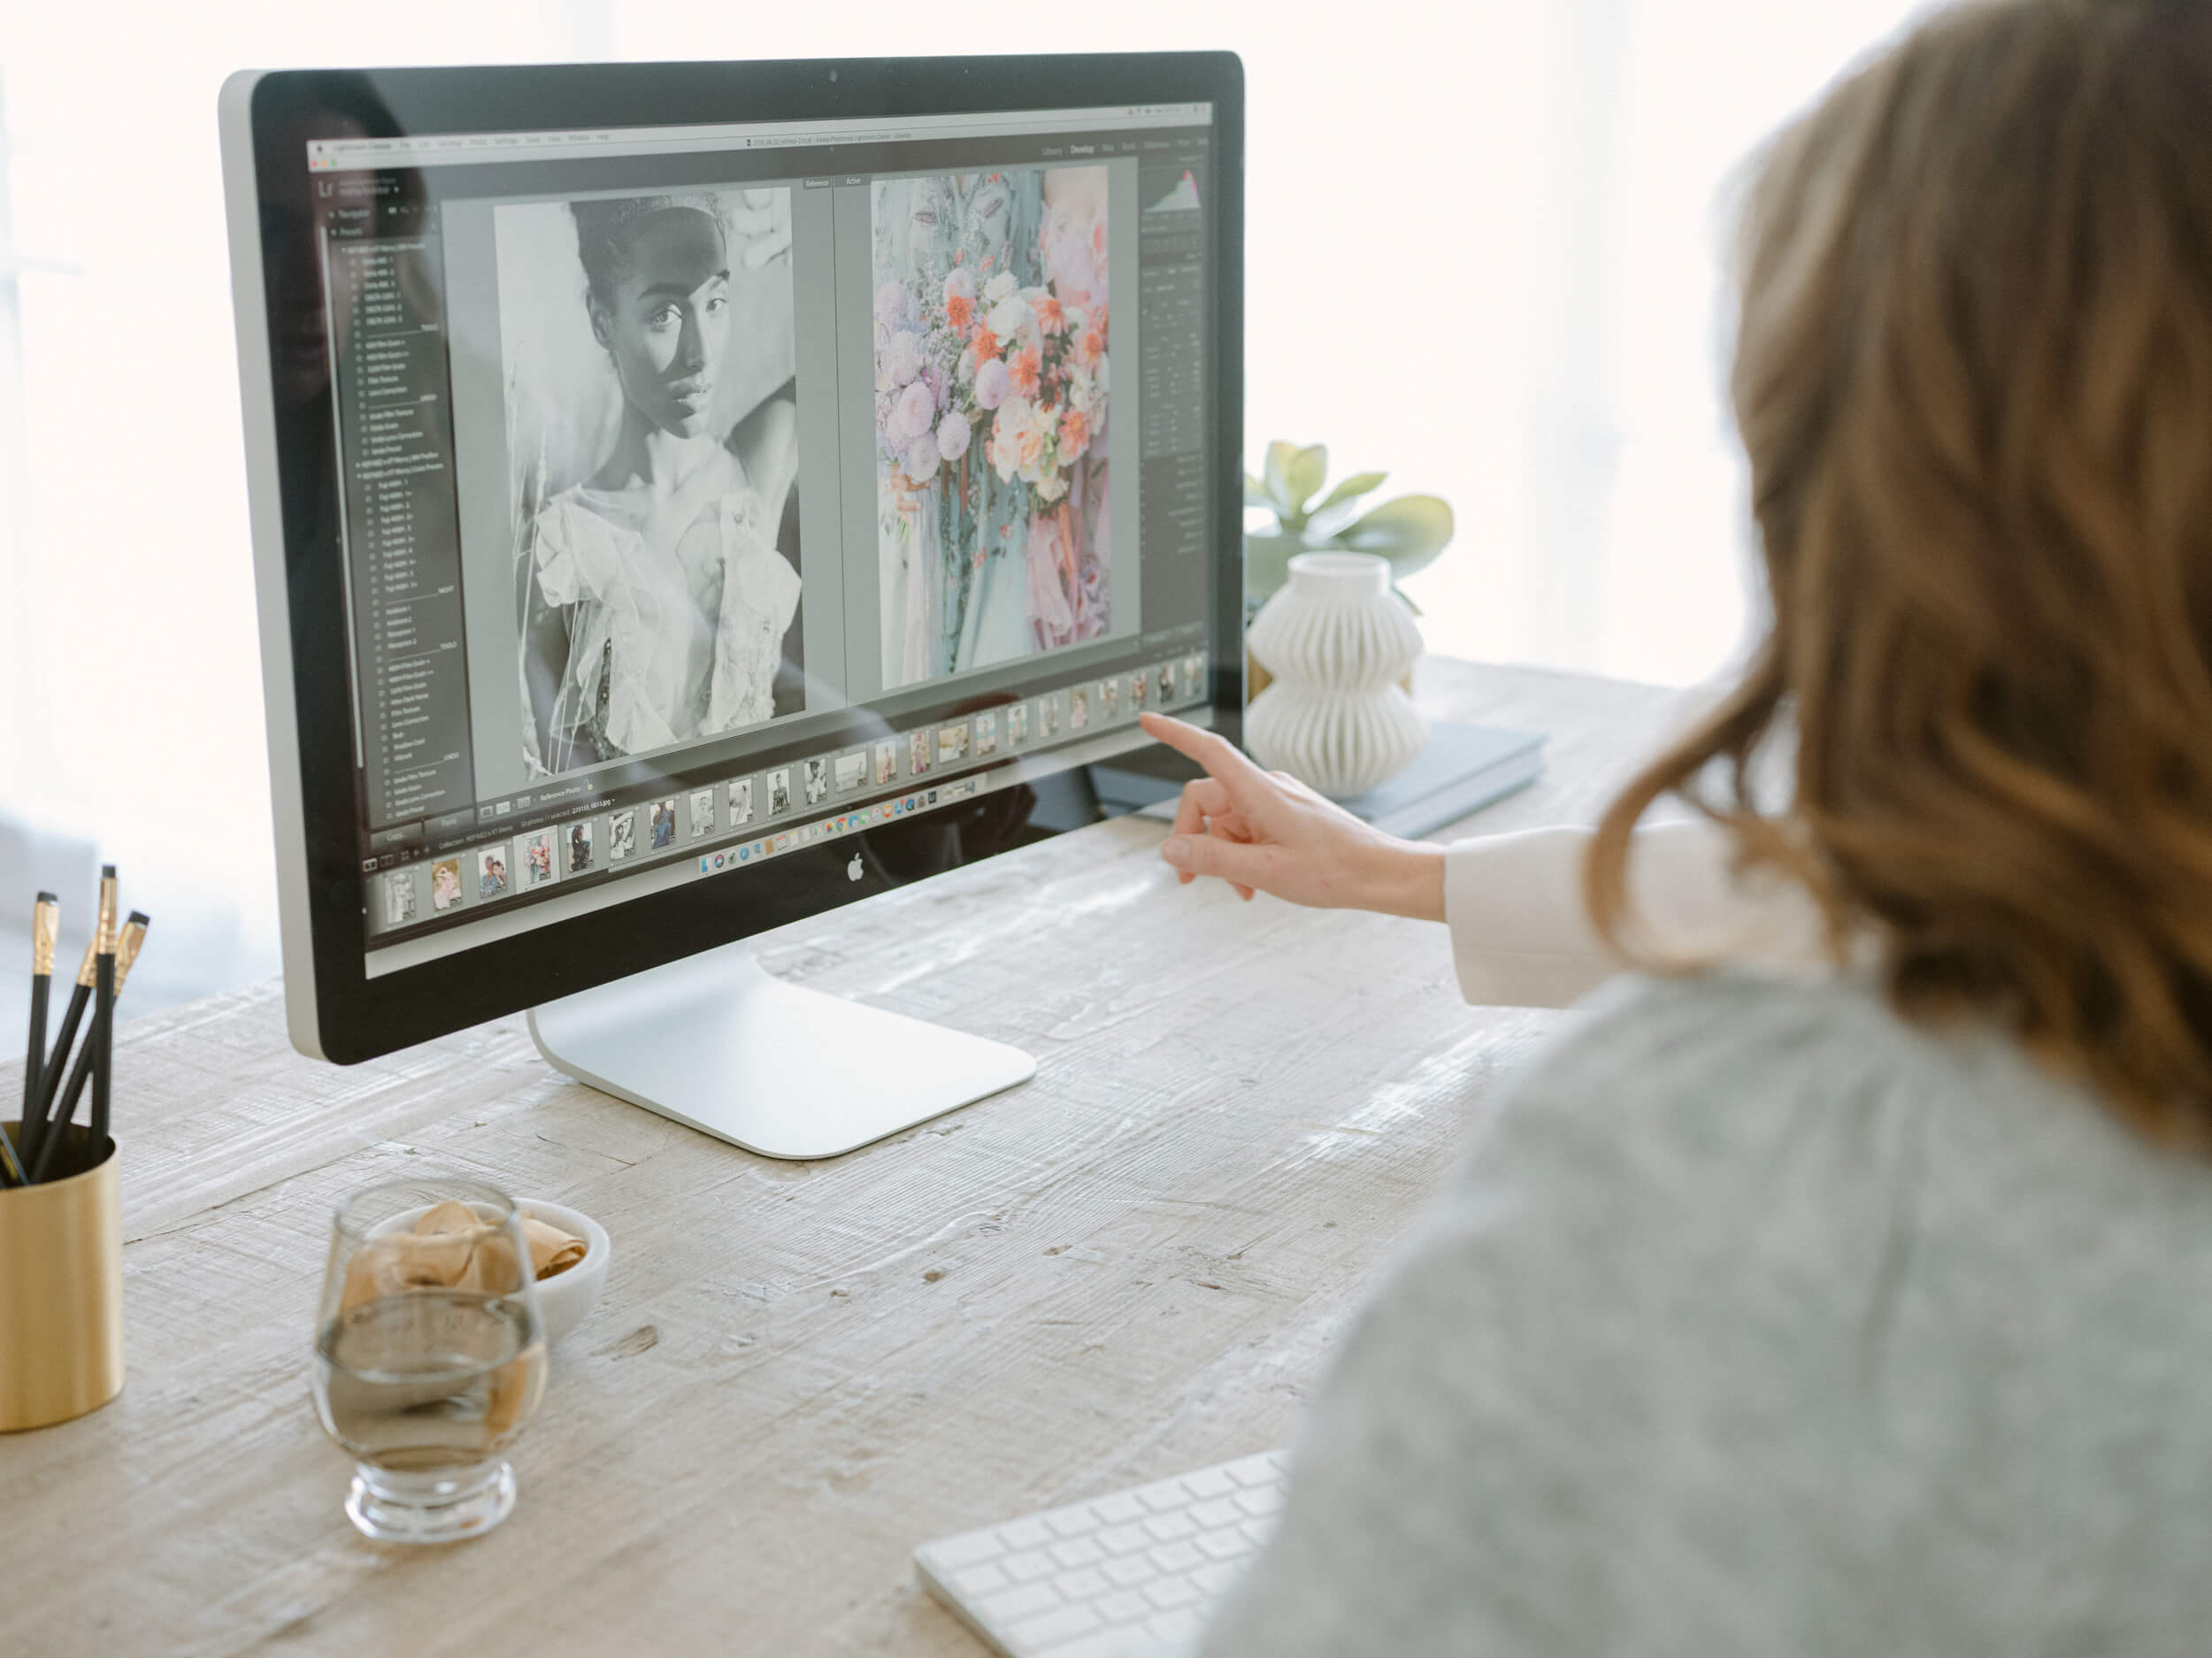
Pull up the reference shot right next to the image you’re editing in order to closely (if not exactly) match the look. To find this in Lightroom, select Develop Mode and in the lower left of your image window is an R/A. Select that, and drag your reference image to the first of the two image slots. Then select the image you are editing and it will show on the right. You’ll want to start by setting your exposure and then the white balance. Then, run the preset and tweak the contrast, shadows and blacks if needed.
Match Digital to Film Scans
To make sure your digital files are matching your film files, begin by finding the section of images you’re working on—whether it’s Getting Ready, the Ceremony, the Reception, etc. Then, select a Reference Image (see above) from your film selects. Edit to match your reference image. Then repeat for each section!
One of the beautiful things about the KT Merry presets is that the digital results look just as good as the film images. The film grain is ‘baked into’ the presets, and we’ve mastered our process so that you can’t tell the difference! If your lab or the film stock used presents a different grain, just select a different grain option out of the Tools section of our presets.
2. Less is more.
With so many elements to tweak and sliders to slide, it can be tempting to over-edit an image. But the goal is for the image itself to shine through, not the editing or the preset. The preset is a tool, not an end goal. That’s another reason why I love film so much! It really forces you to get the image right in camera.
Keep it about the image, not the editing.
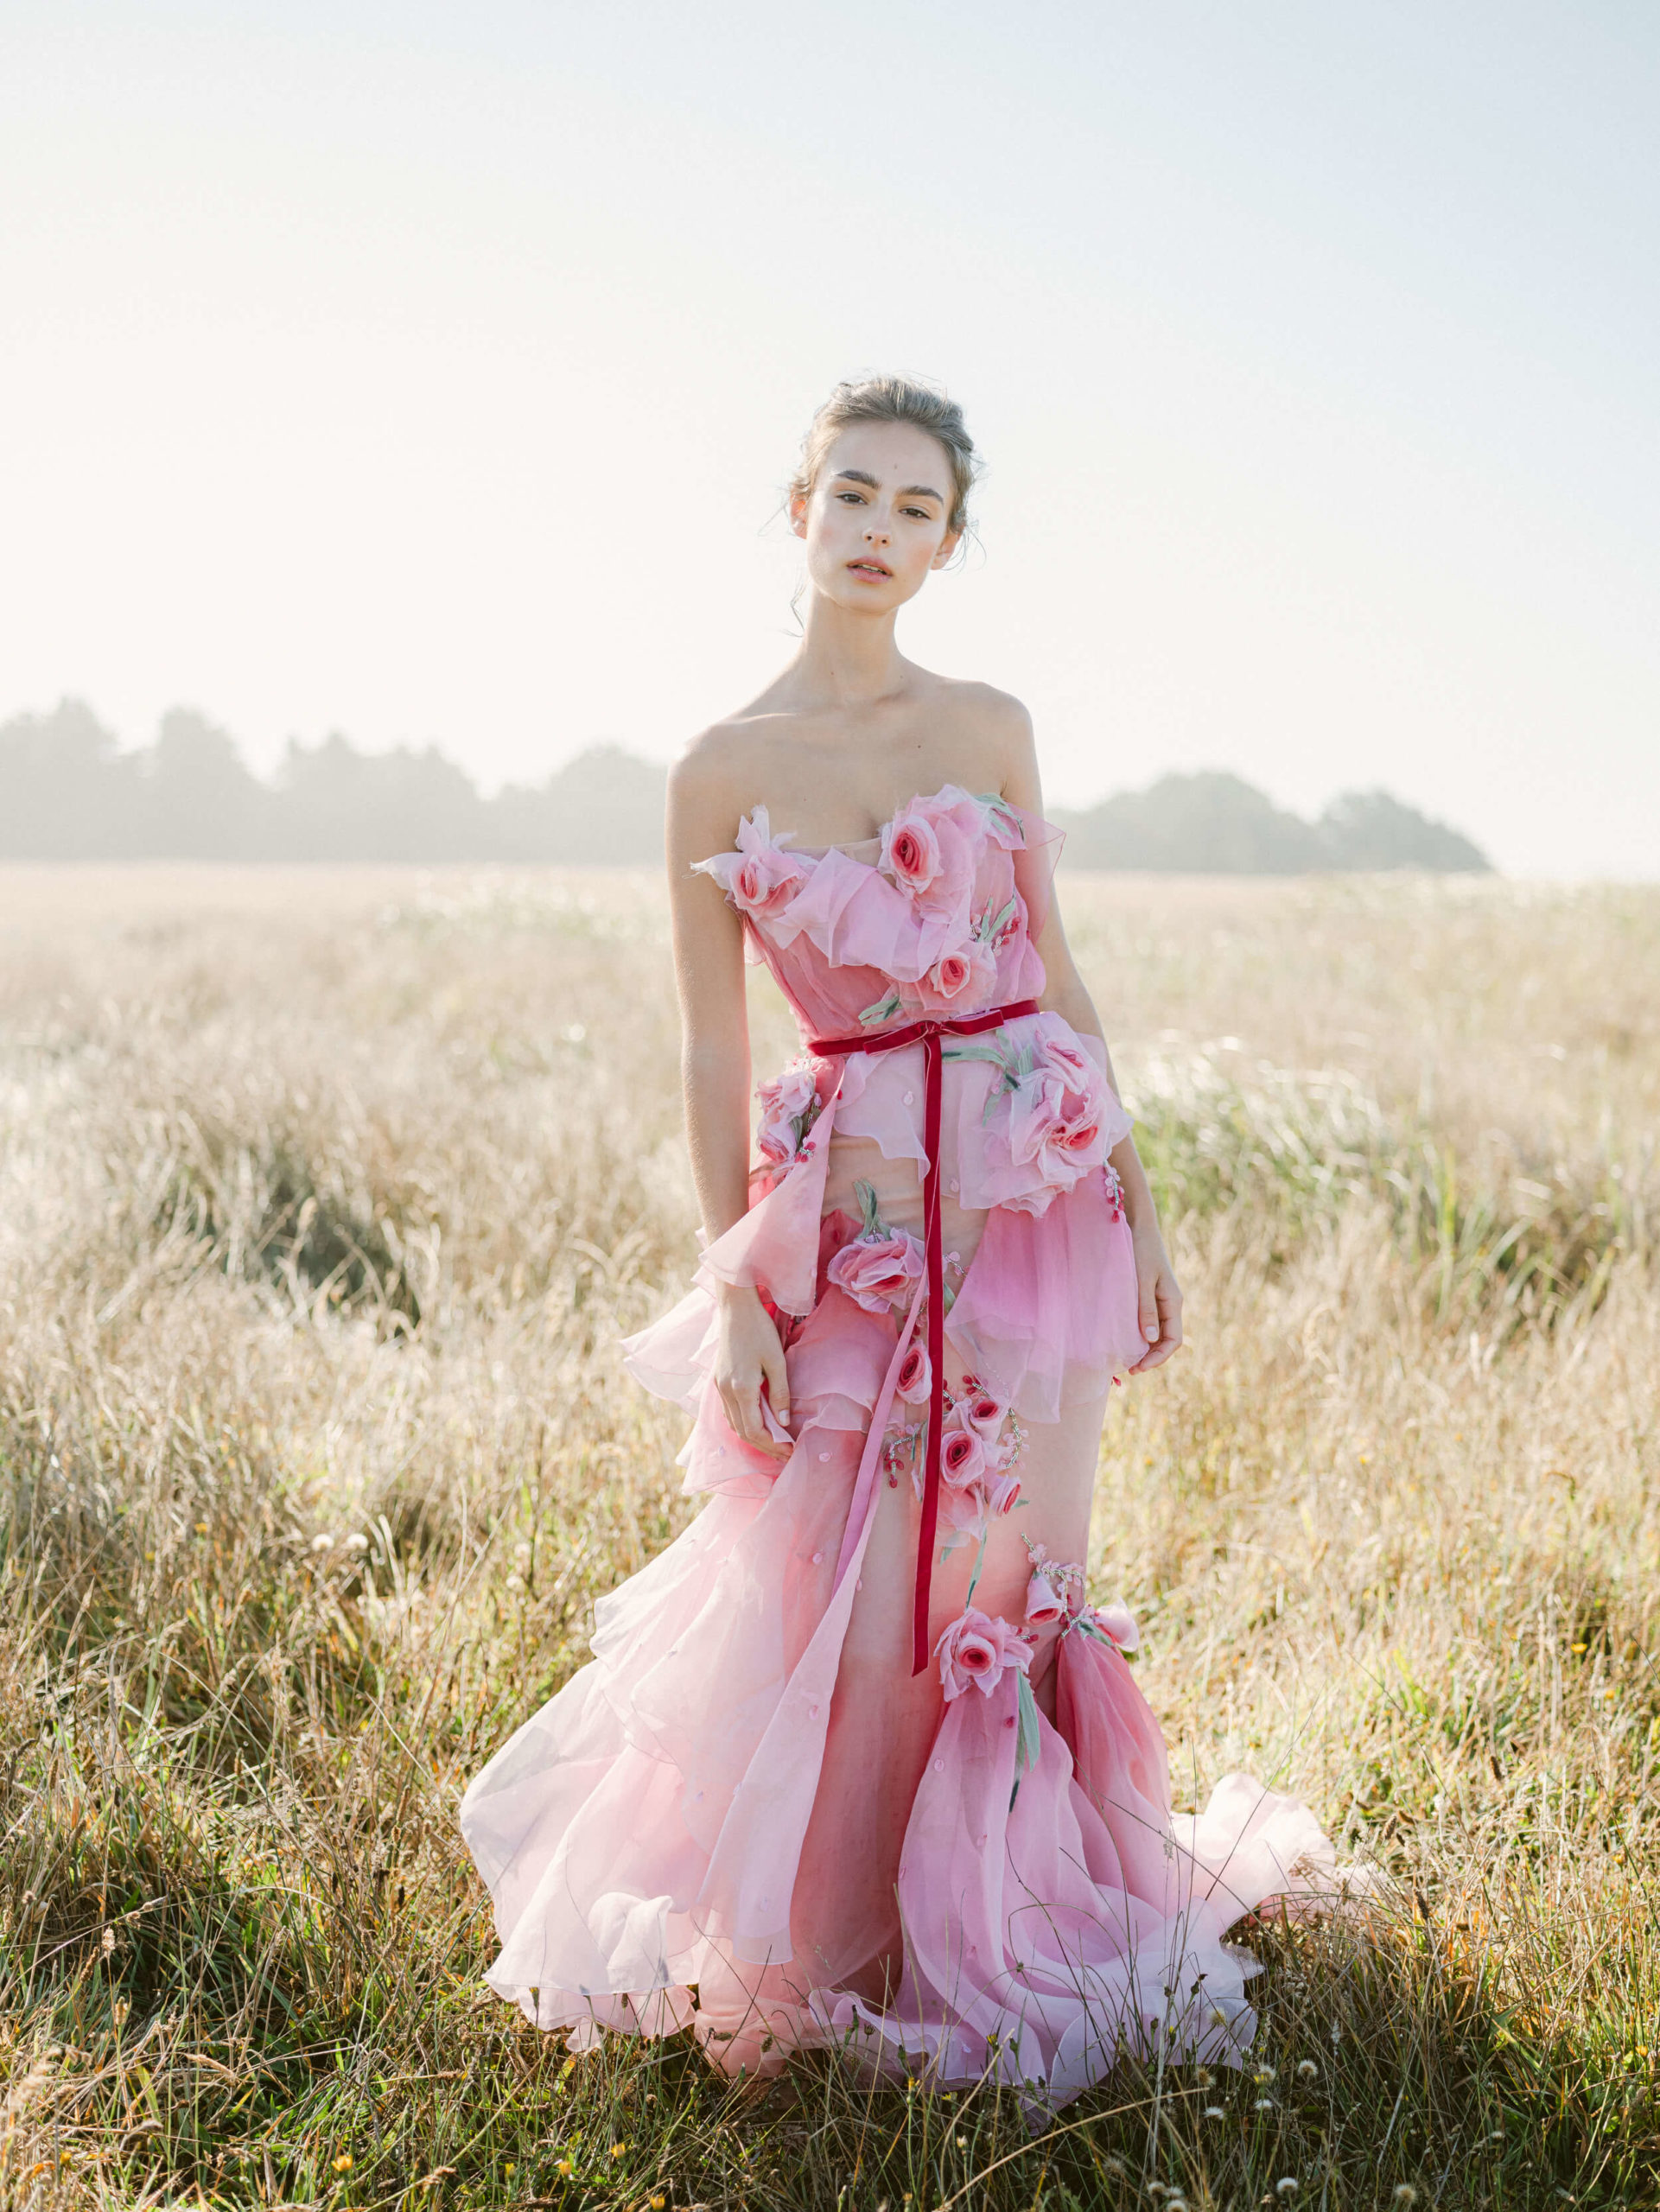
Fixing A Flat
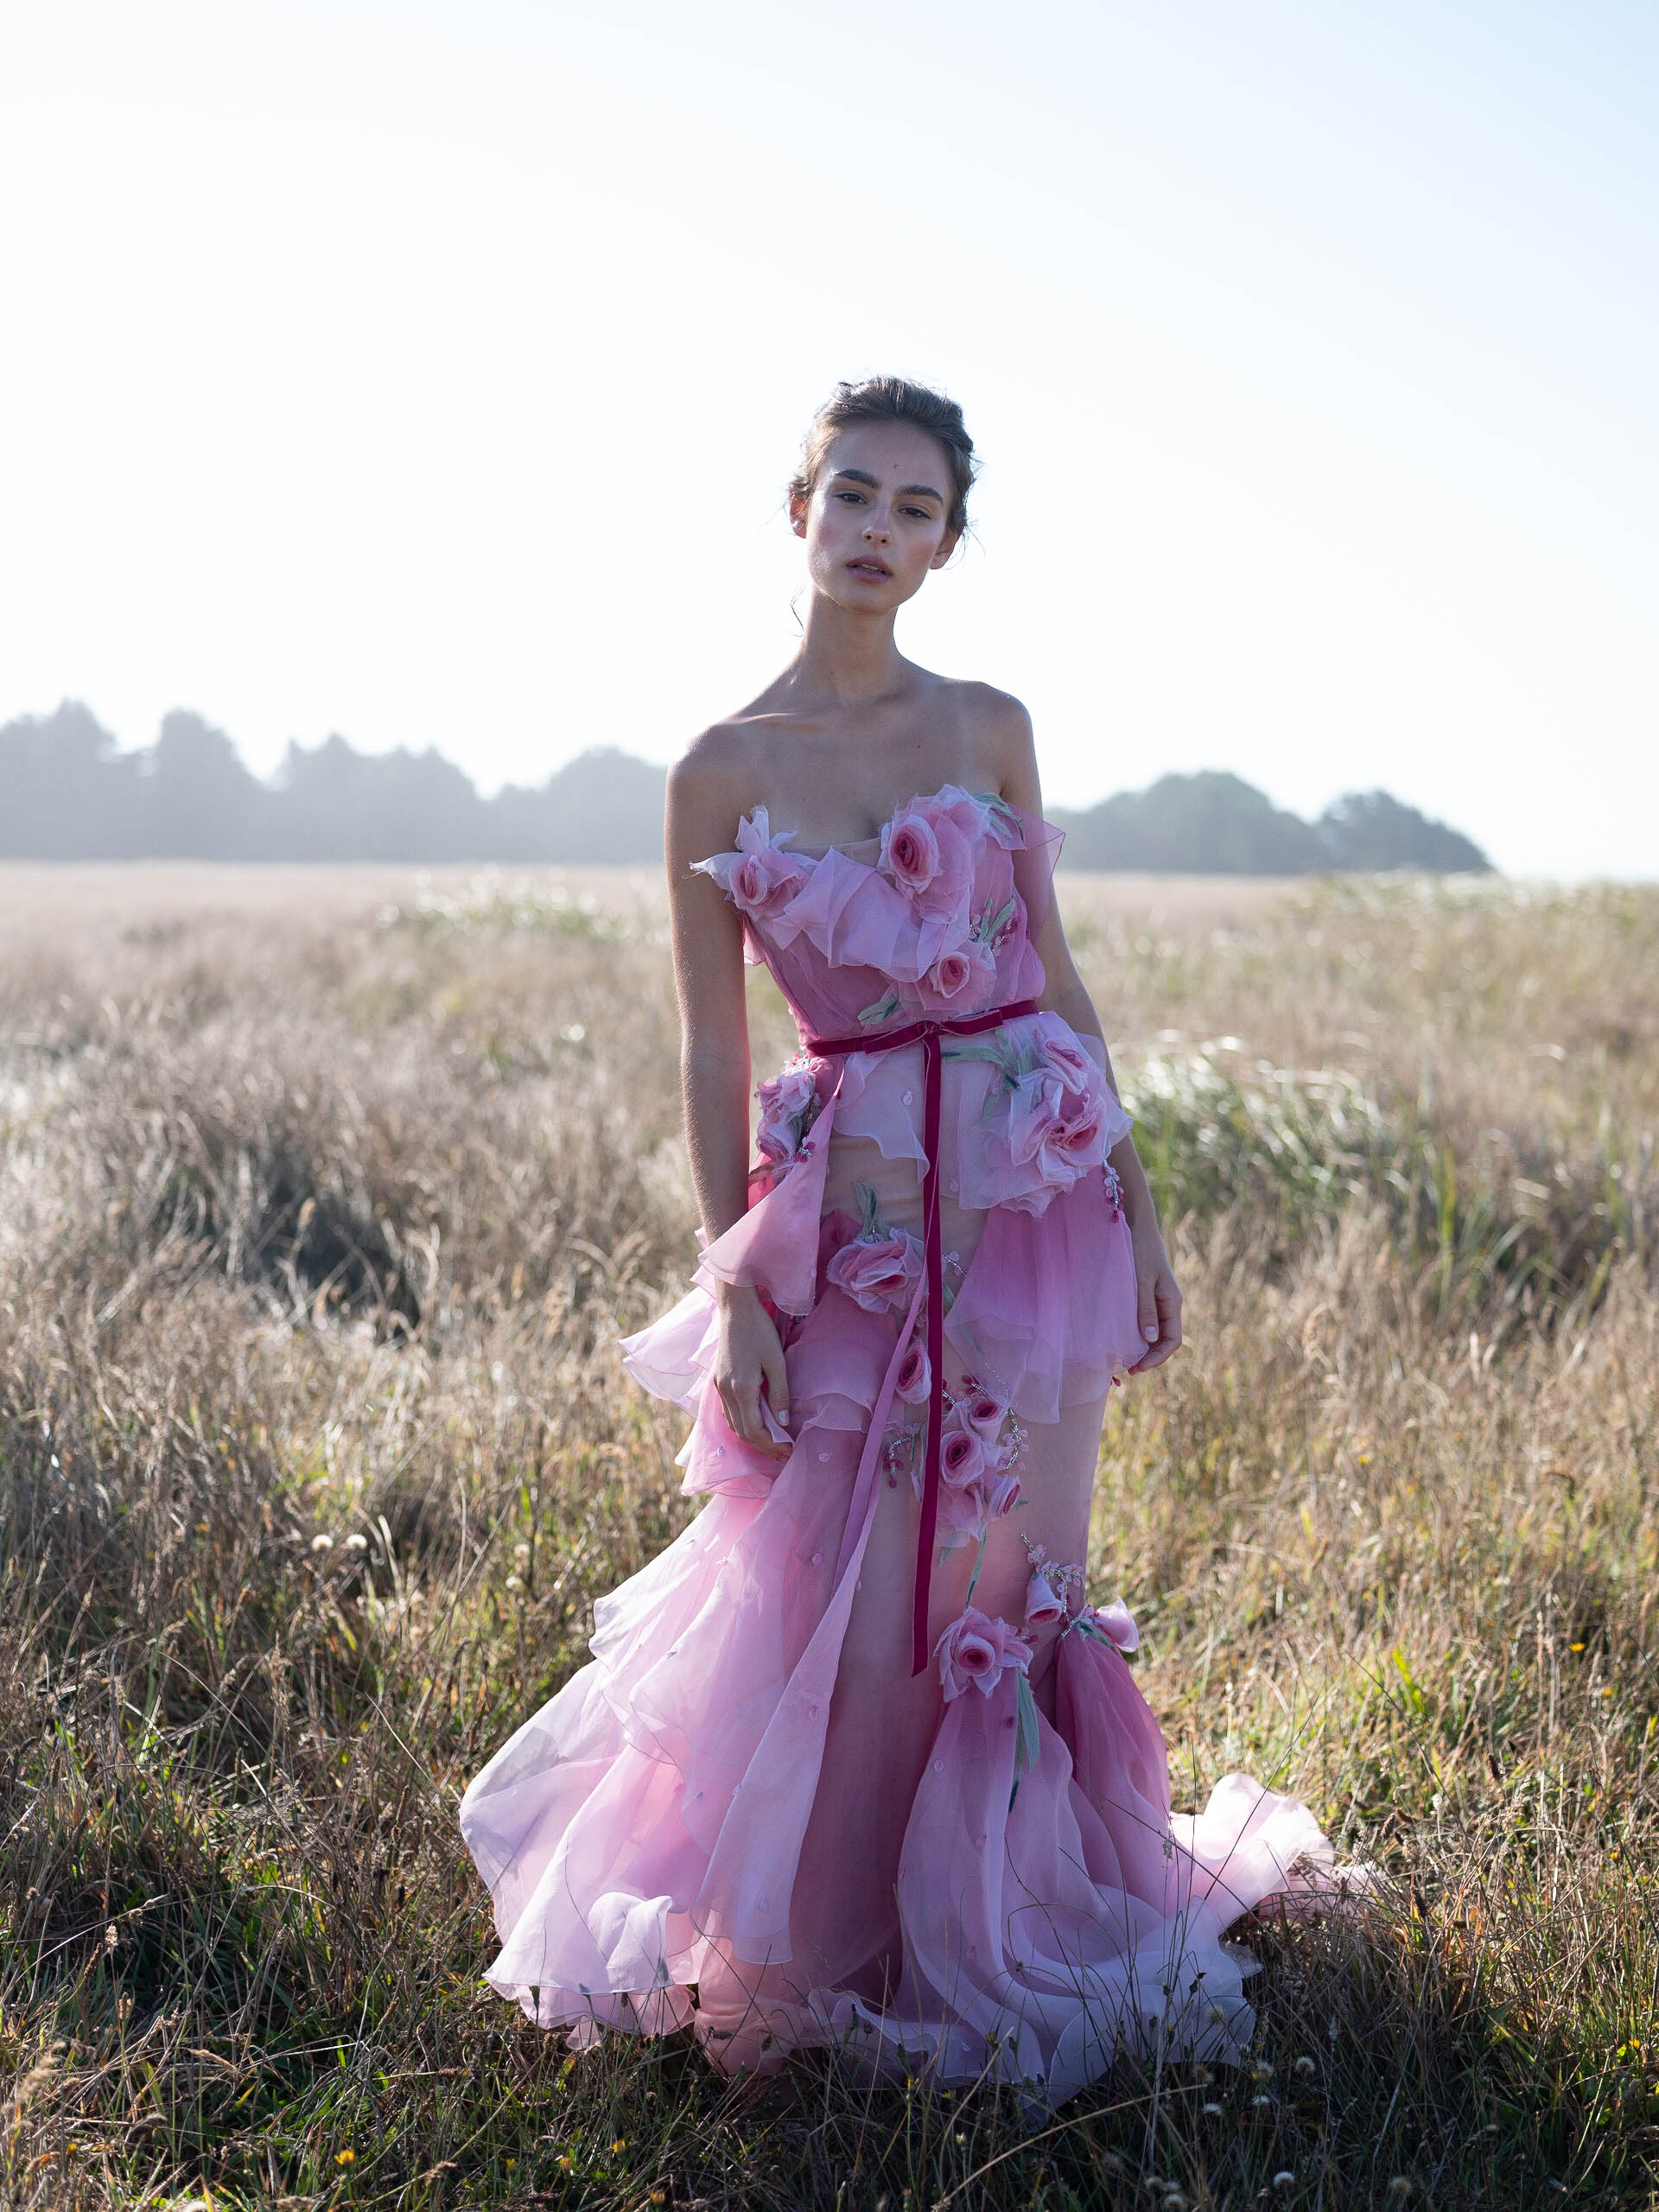
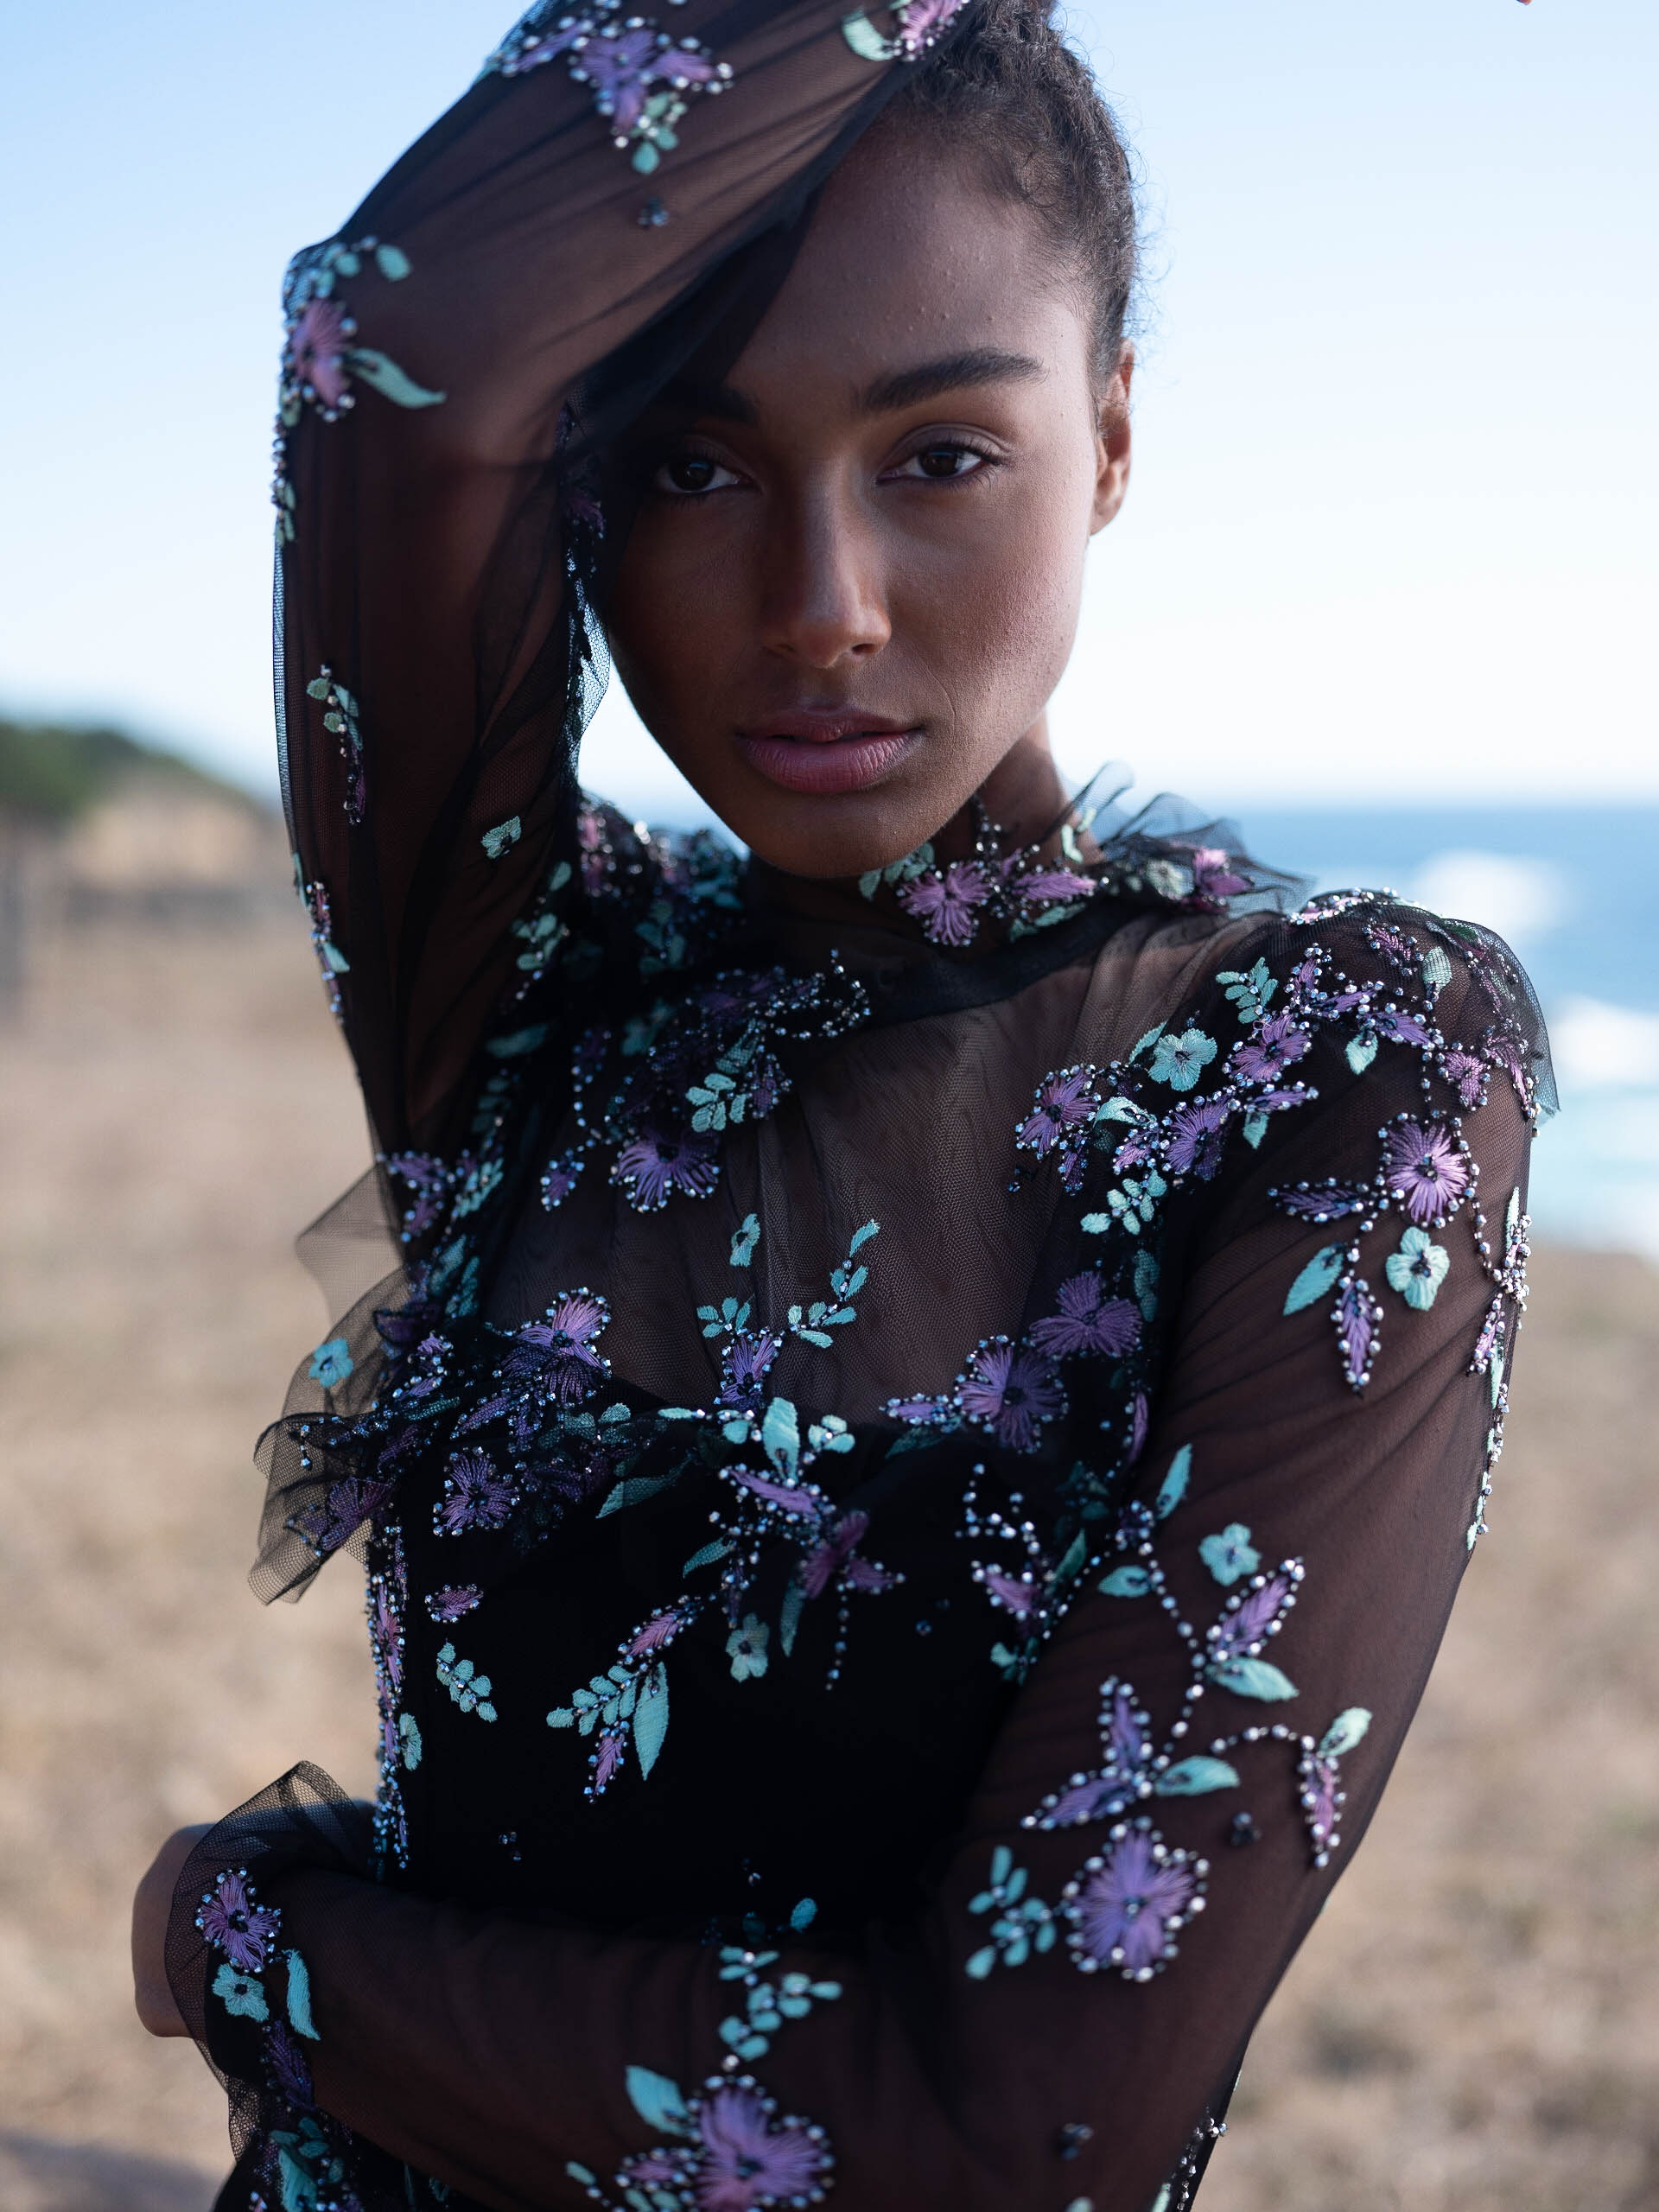
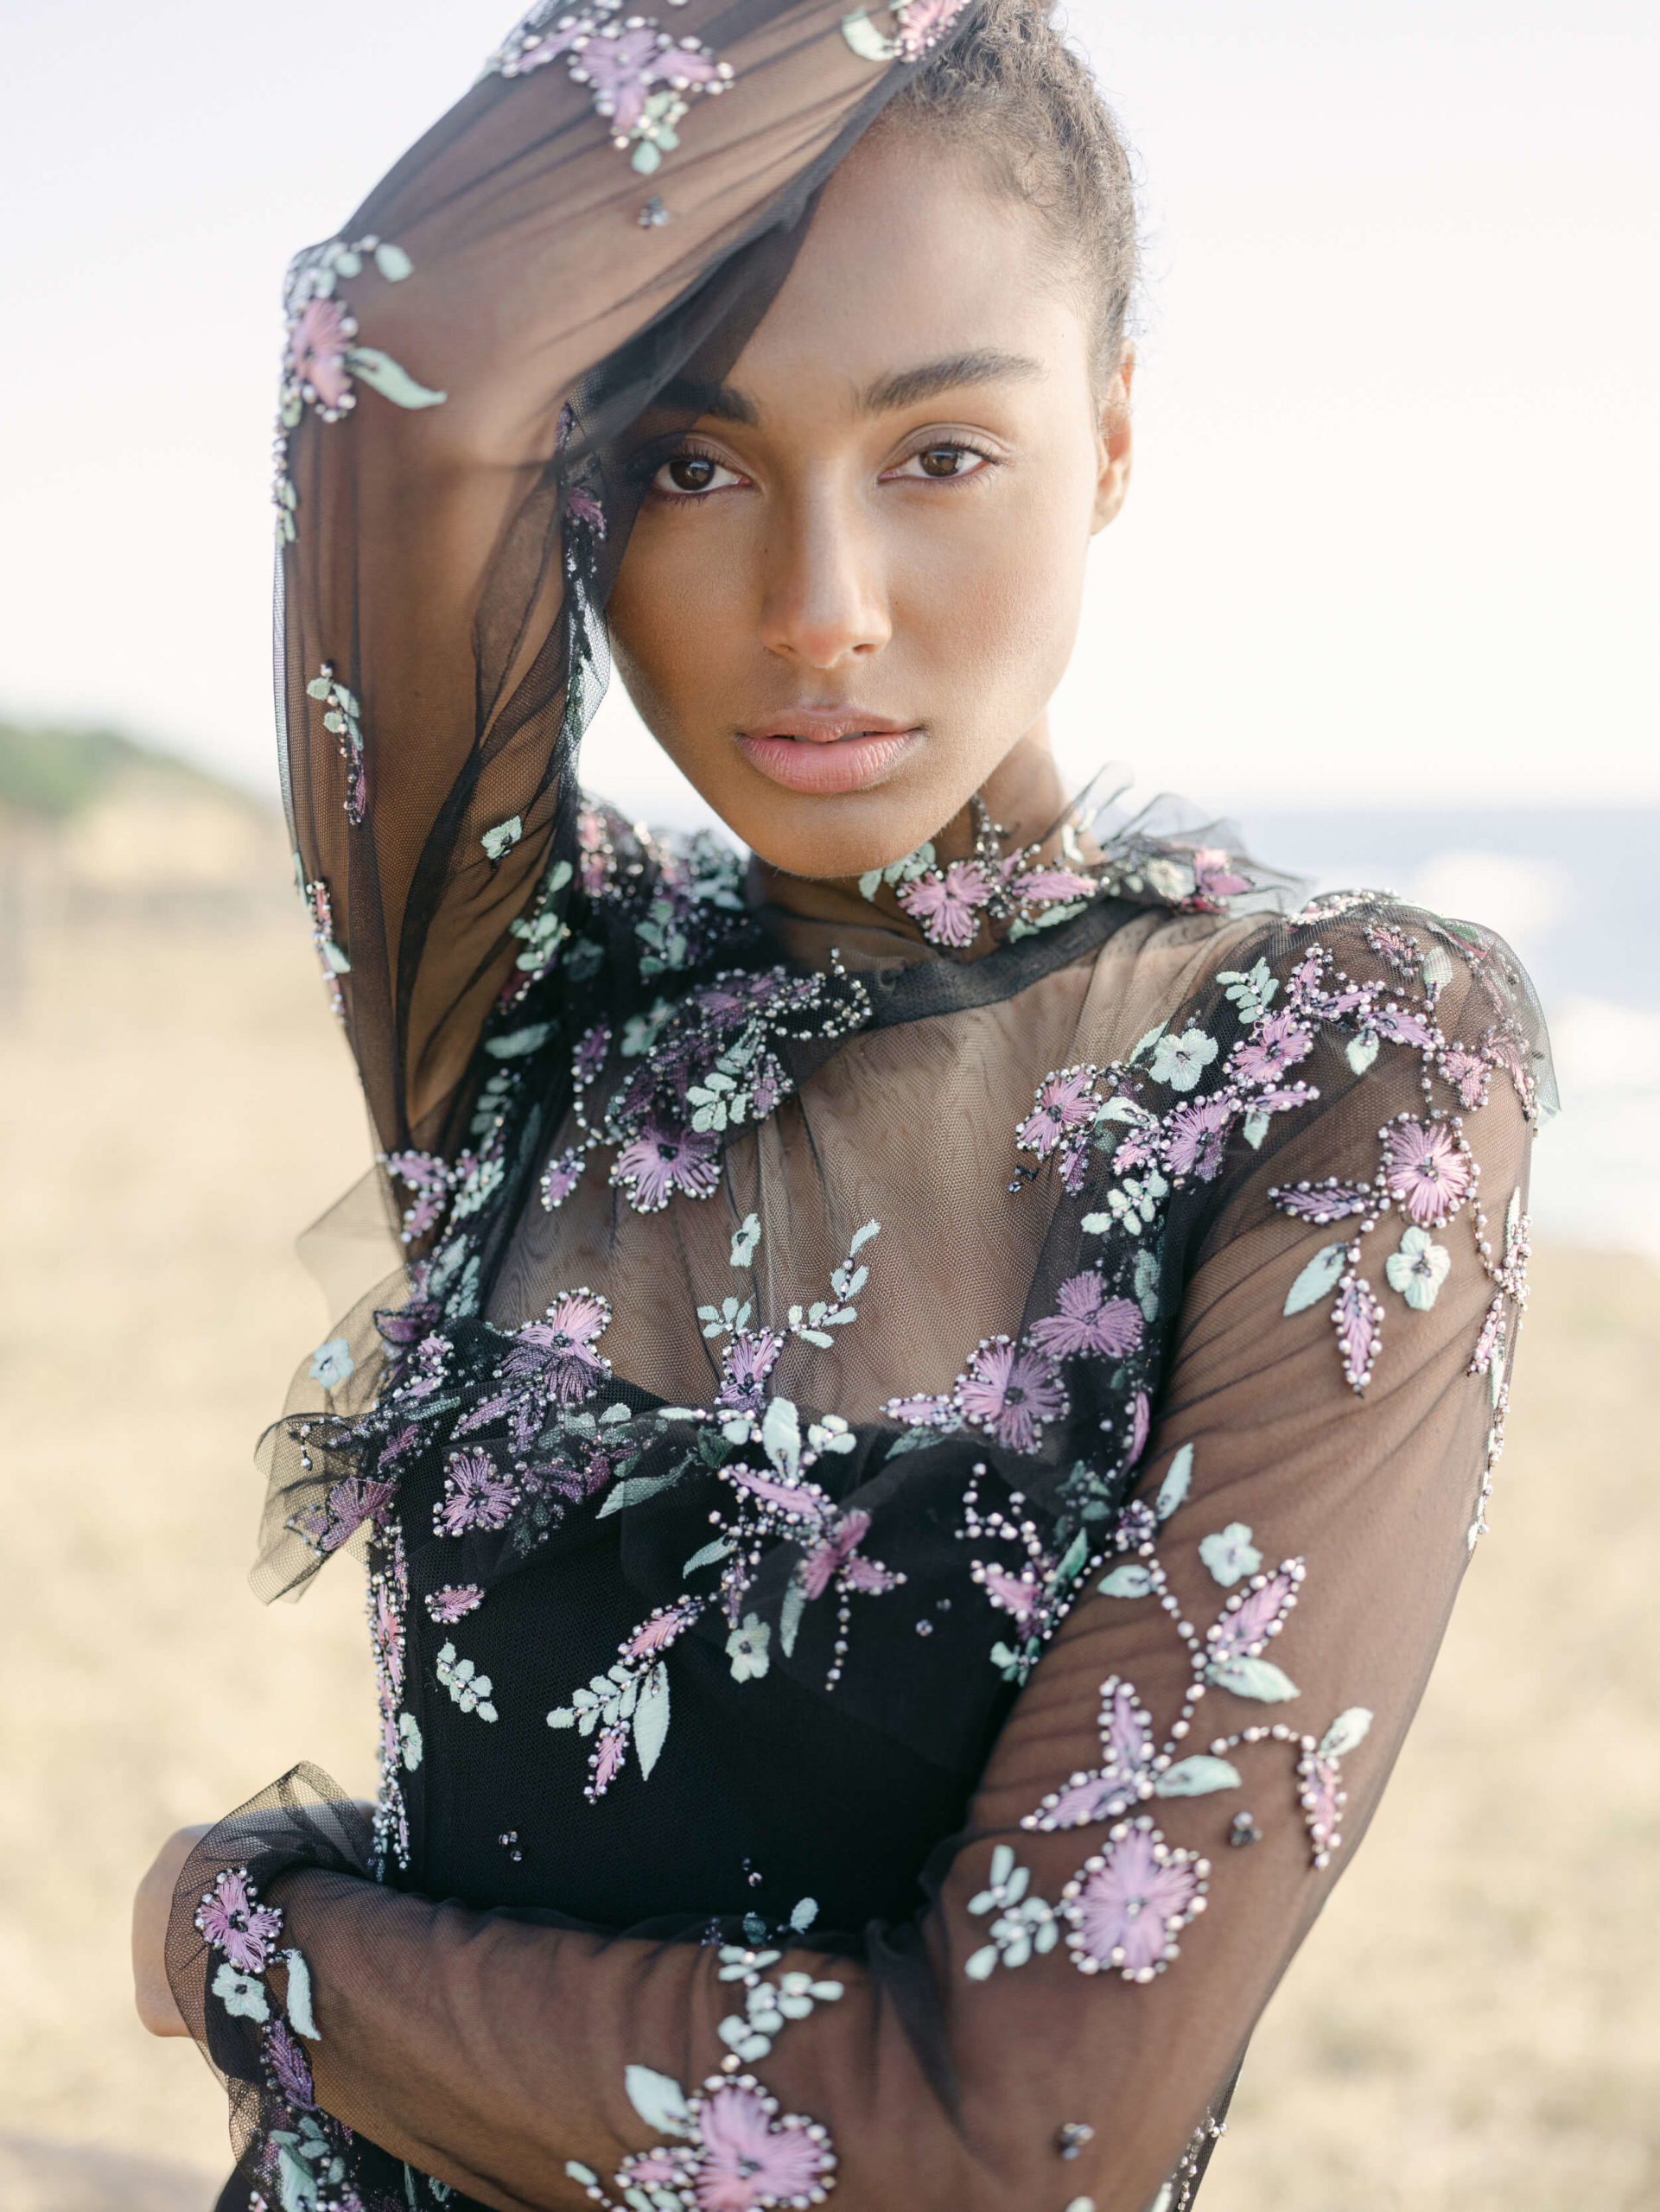
If you have a flat image and you’re looking to add depth, tweak the shadows, blacks and contrast. Be careful not to blow out an image by overexposing it. Get the exposure of the light where you want it, and then adjust the shadows for more depth. The very best way to avoid flat images is by taking stock of your lighting while shooting. Backlit objects or people can become very flat, but bringing a light source in from the side can immediately create much more depth.
3. Stay in Your Lane.
Know your brand and know your look. It can be tempting, especially early in your career, to look around and try out looks that are working for other photographers. But remember, you are the only you. Your perspective and your artistry is unique, and your best work will shine through when your unique vision as an artist is present. Look back at some of your early images and try to pinpoint what makes them uniquely yours. This is the thread you want to carry throughout your work.
I’ve never been super experimental in my wedding work because the stakes are too high, but I will admit that I’ve gone through phases that I can look back on now and say “what was I thinking?” However, as I mentioned earlier, the bones of my aesthetic have always been there. My work has been to continue to develop and refine that skeletal structure that’s been there all along.
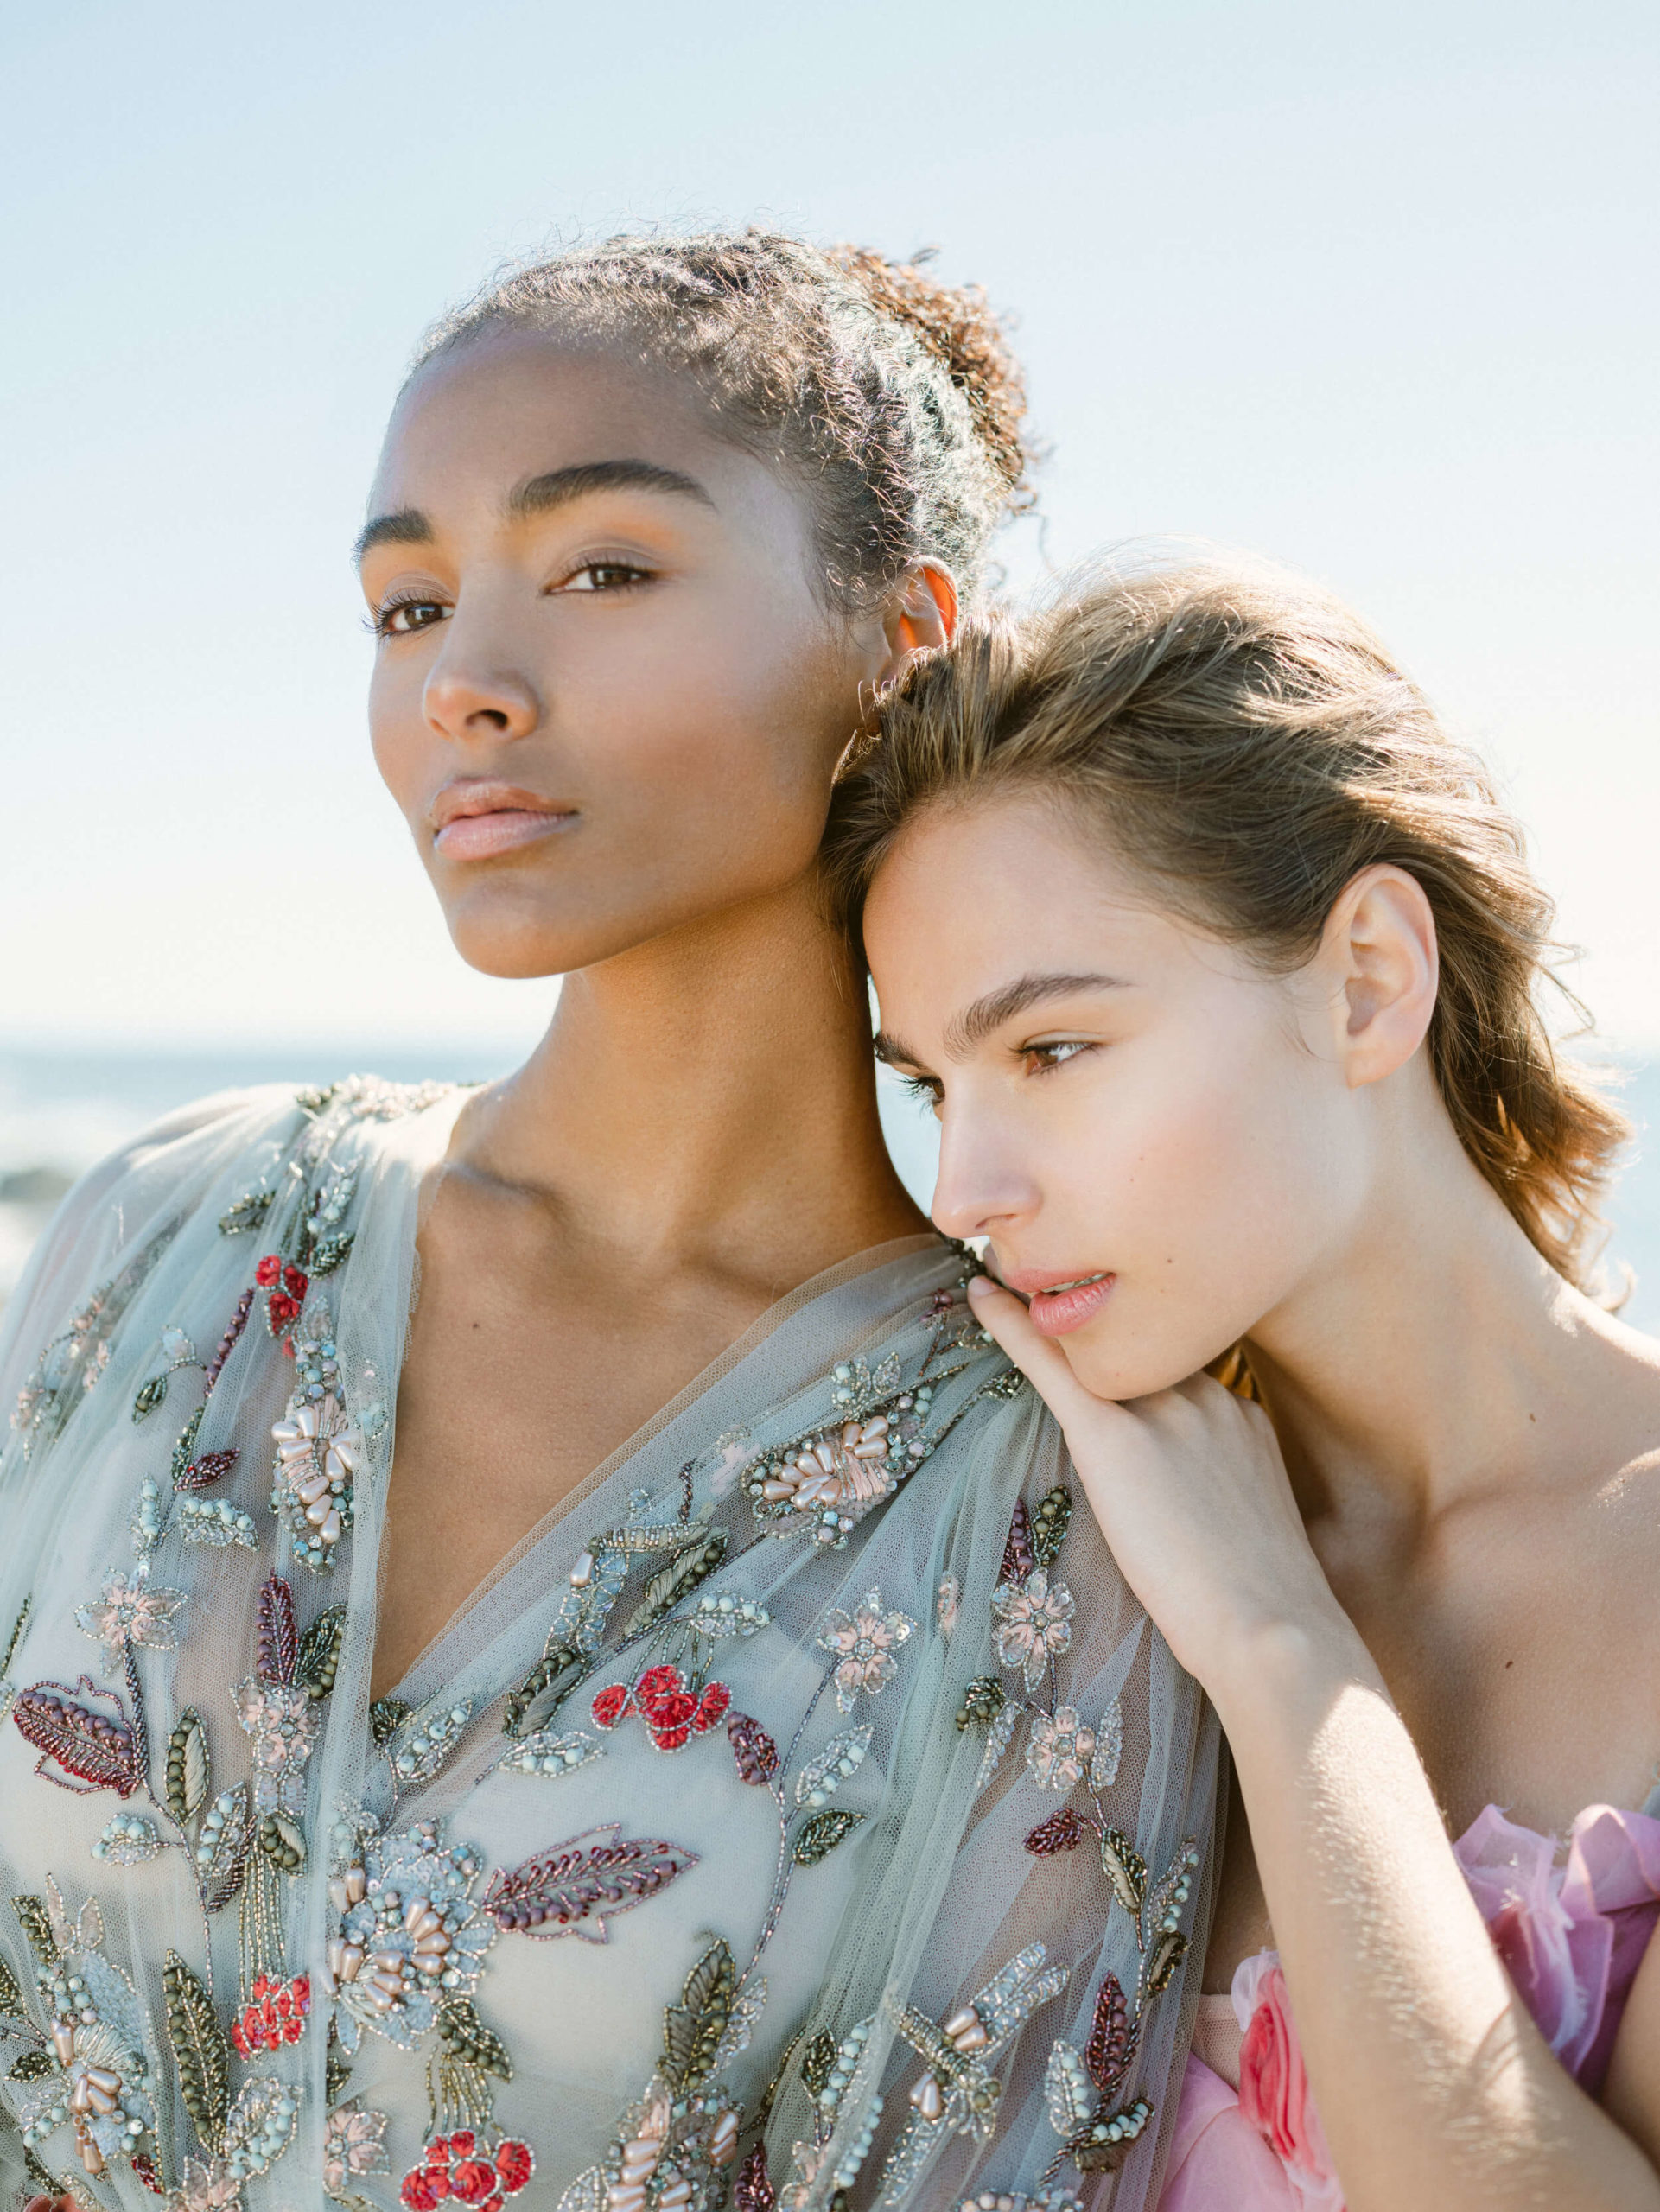
4. Practice makes it perfect—and fast!
It may take a little time to find your perfect ‘recipe’ for editing to your aesthetic, but once you do, and with the help of my presets, you’ll be flying through the post production process. Your images will tell you when you’ve found the perfect mix of tone, light, color, etc. Marta generally uses Presets 1, 3 and 4 (of our Fuji Pack) most frequently on my images. Finding your editing ‘recipe’ will create a repetition that eventually will speed up your editing process. Here are Marta and my four simple editing steps:
Here are Marta’s and my four simple editing steps:
1. Choose a reference image (see above).
2. Tweak the white balance.
3. Choose your preset.
4. Fine tune with Contrast and Shadow.
And then repeat!


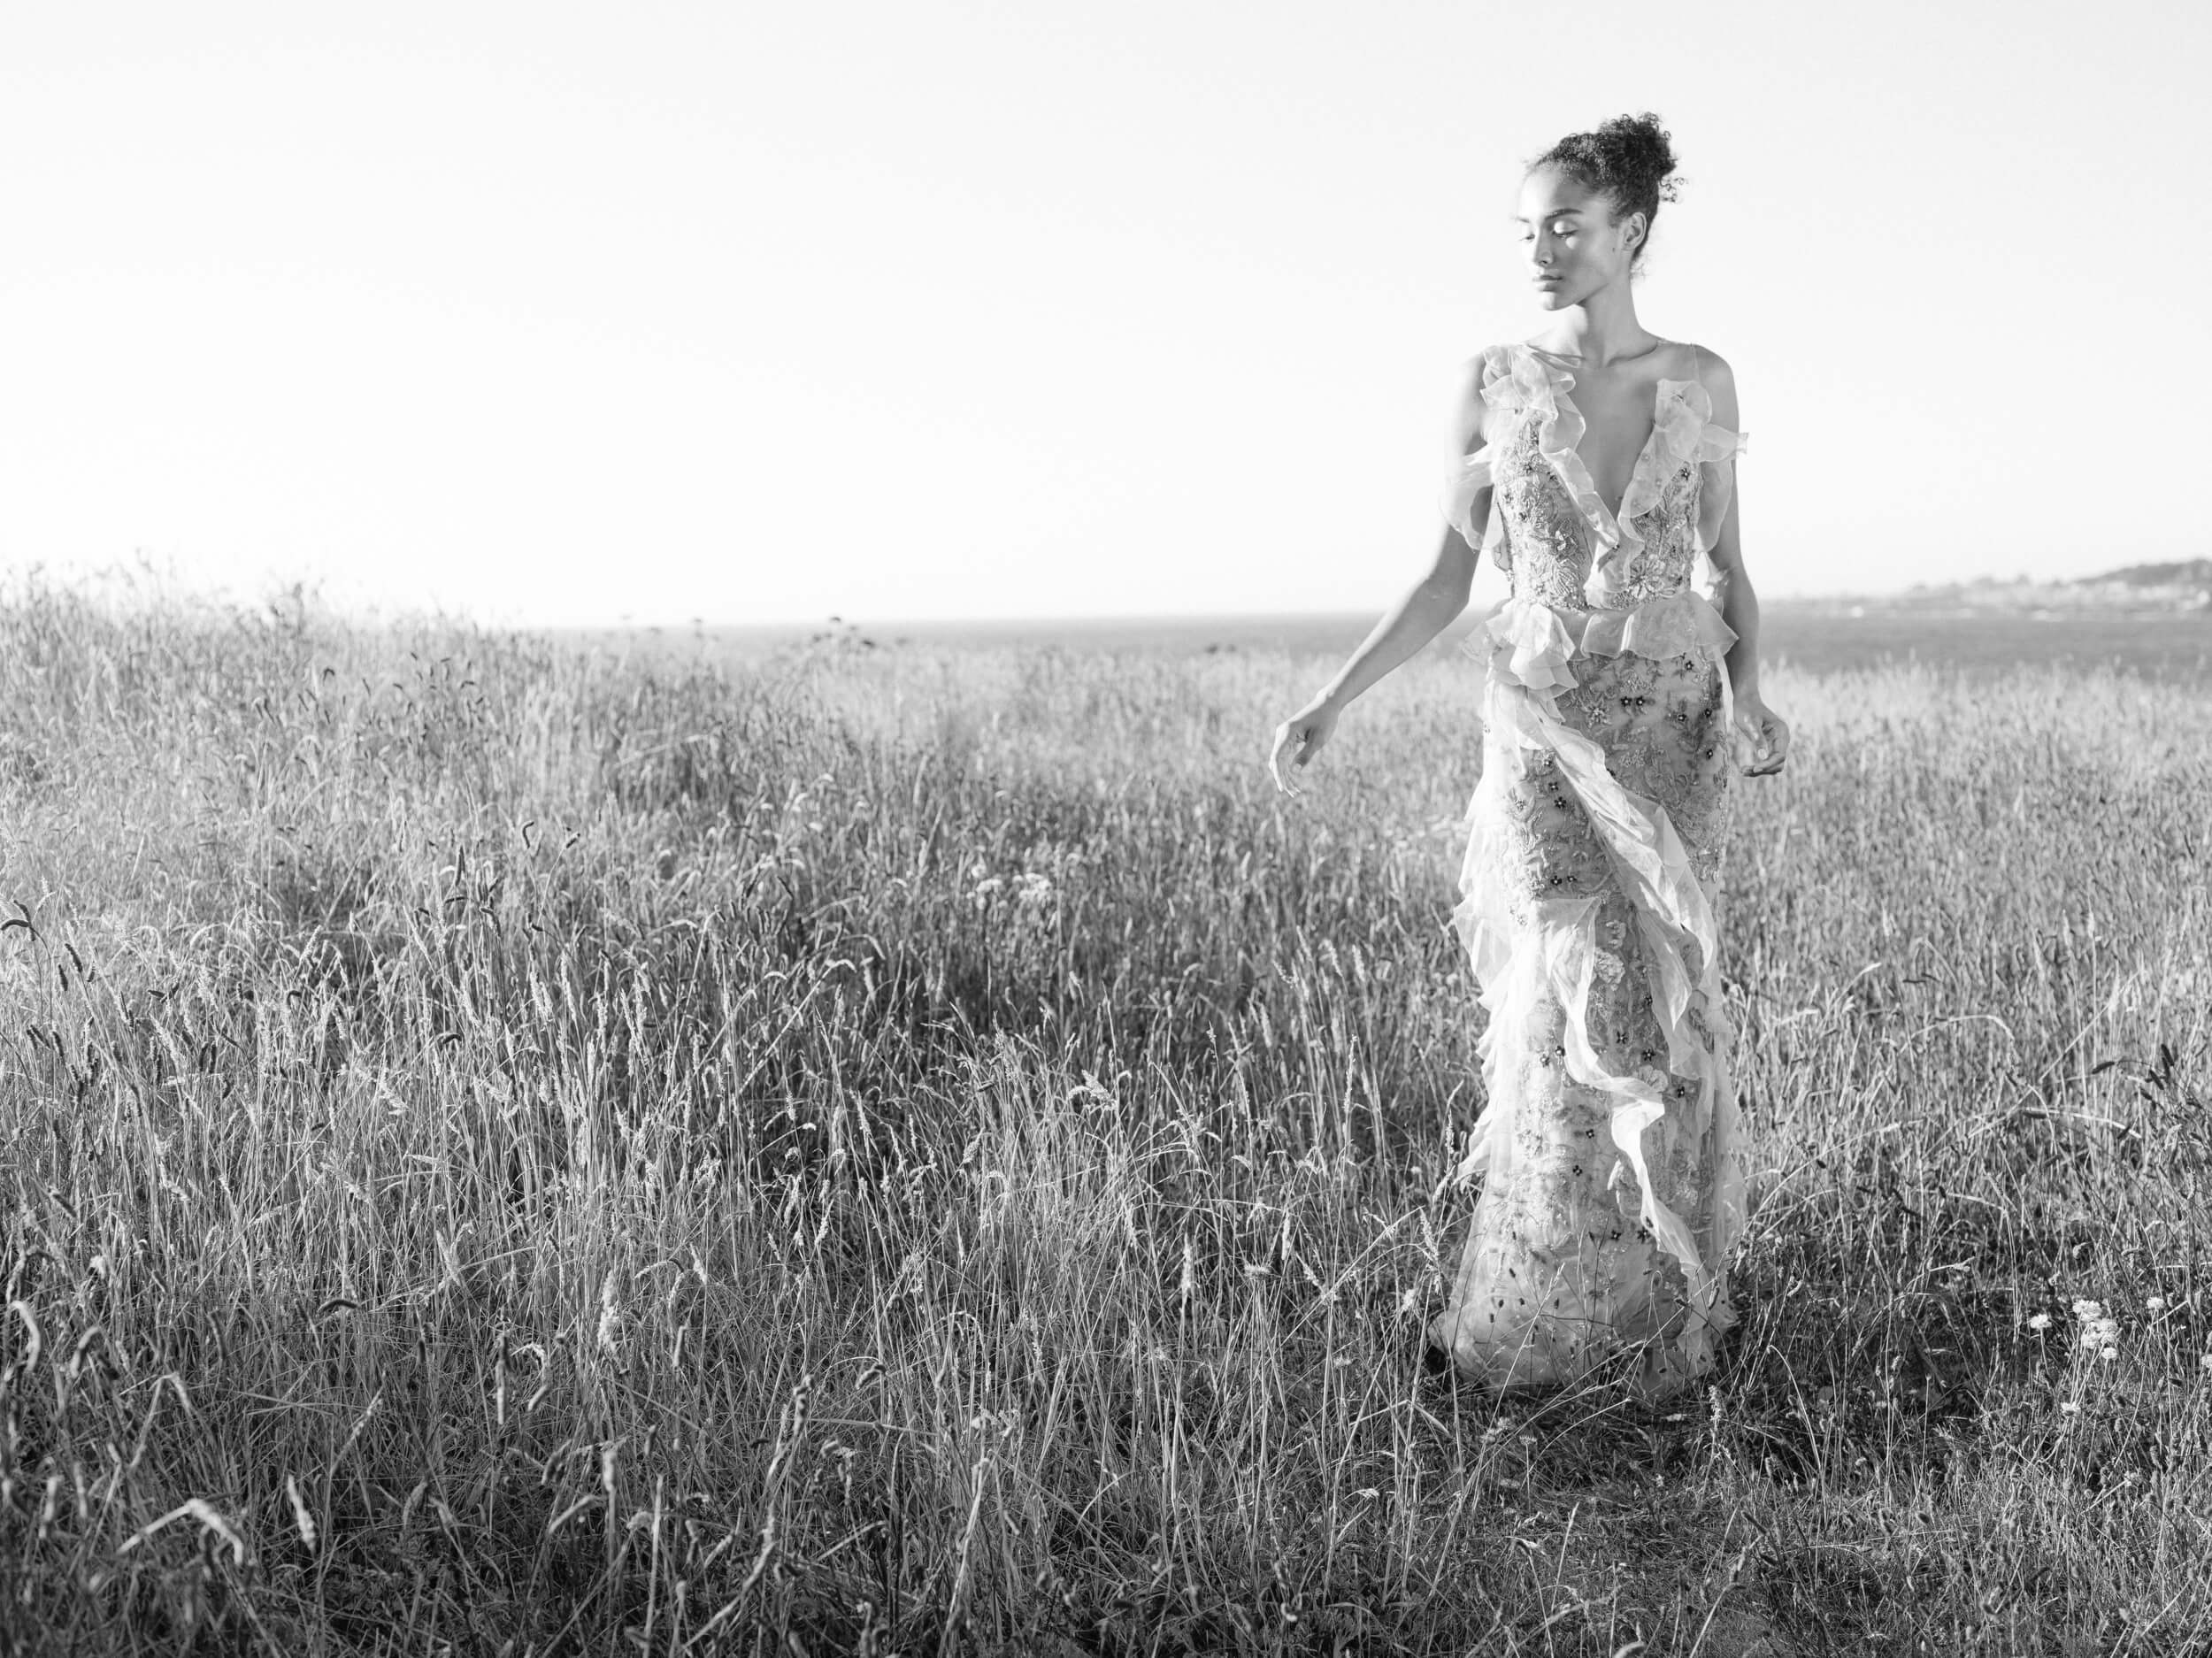
Understanding White Balance
Start with Temperature, then Tint. Play with them and really get to know your colors to the point where you can look at an image and know exactly which color it needs more of. Practice getting white balance right by using reference images. It’s about knowing your colors, just like a color wheel. I set my white balance to auto while shooting, and then make my tweaks on the editing side.
Focus on Shooting
The best way to perfect your images is to focus on shooting. Location, lighting, composition, etc. are the starting points for creating exceptional images. If you can focus on getting better in these areas, most of your work is done in the shooting and not the editing. Shoot well in order to edit less. A preset can only take you so far—they can be incredibly helpful, but at the end of the day, they aren’t magic.
Shoot well to edit less.
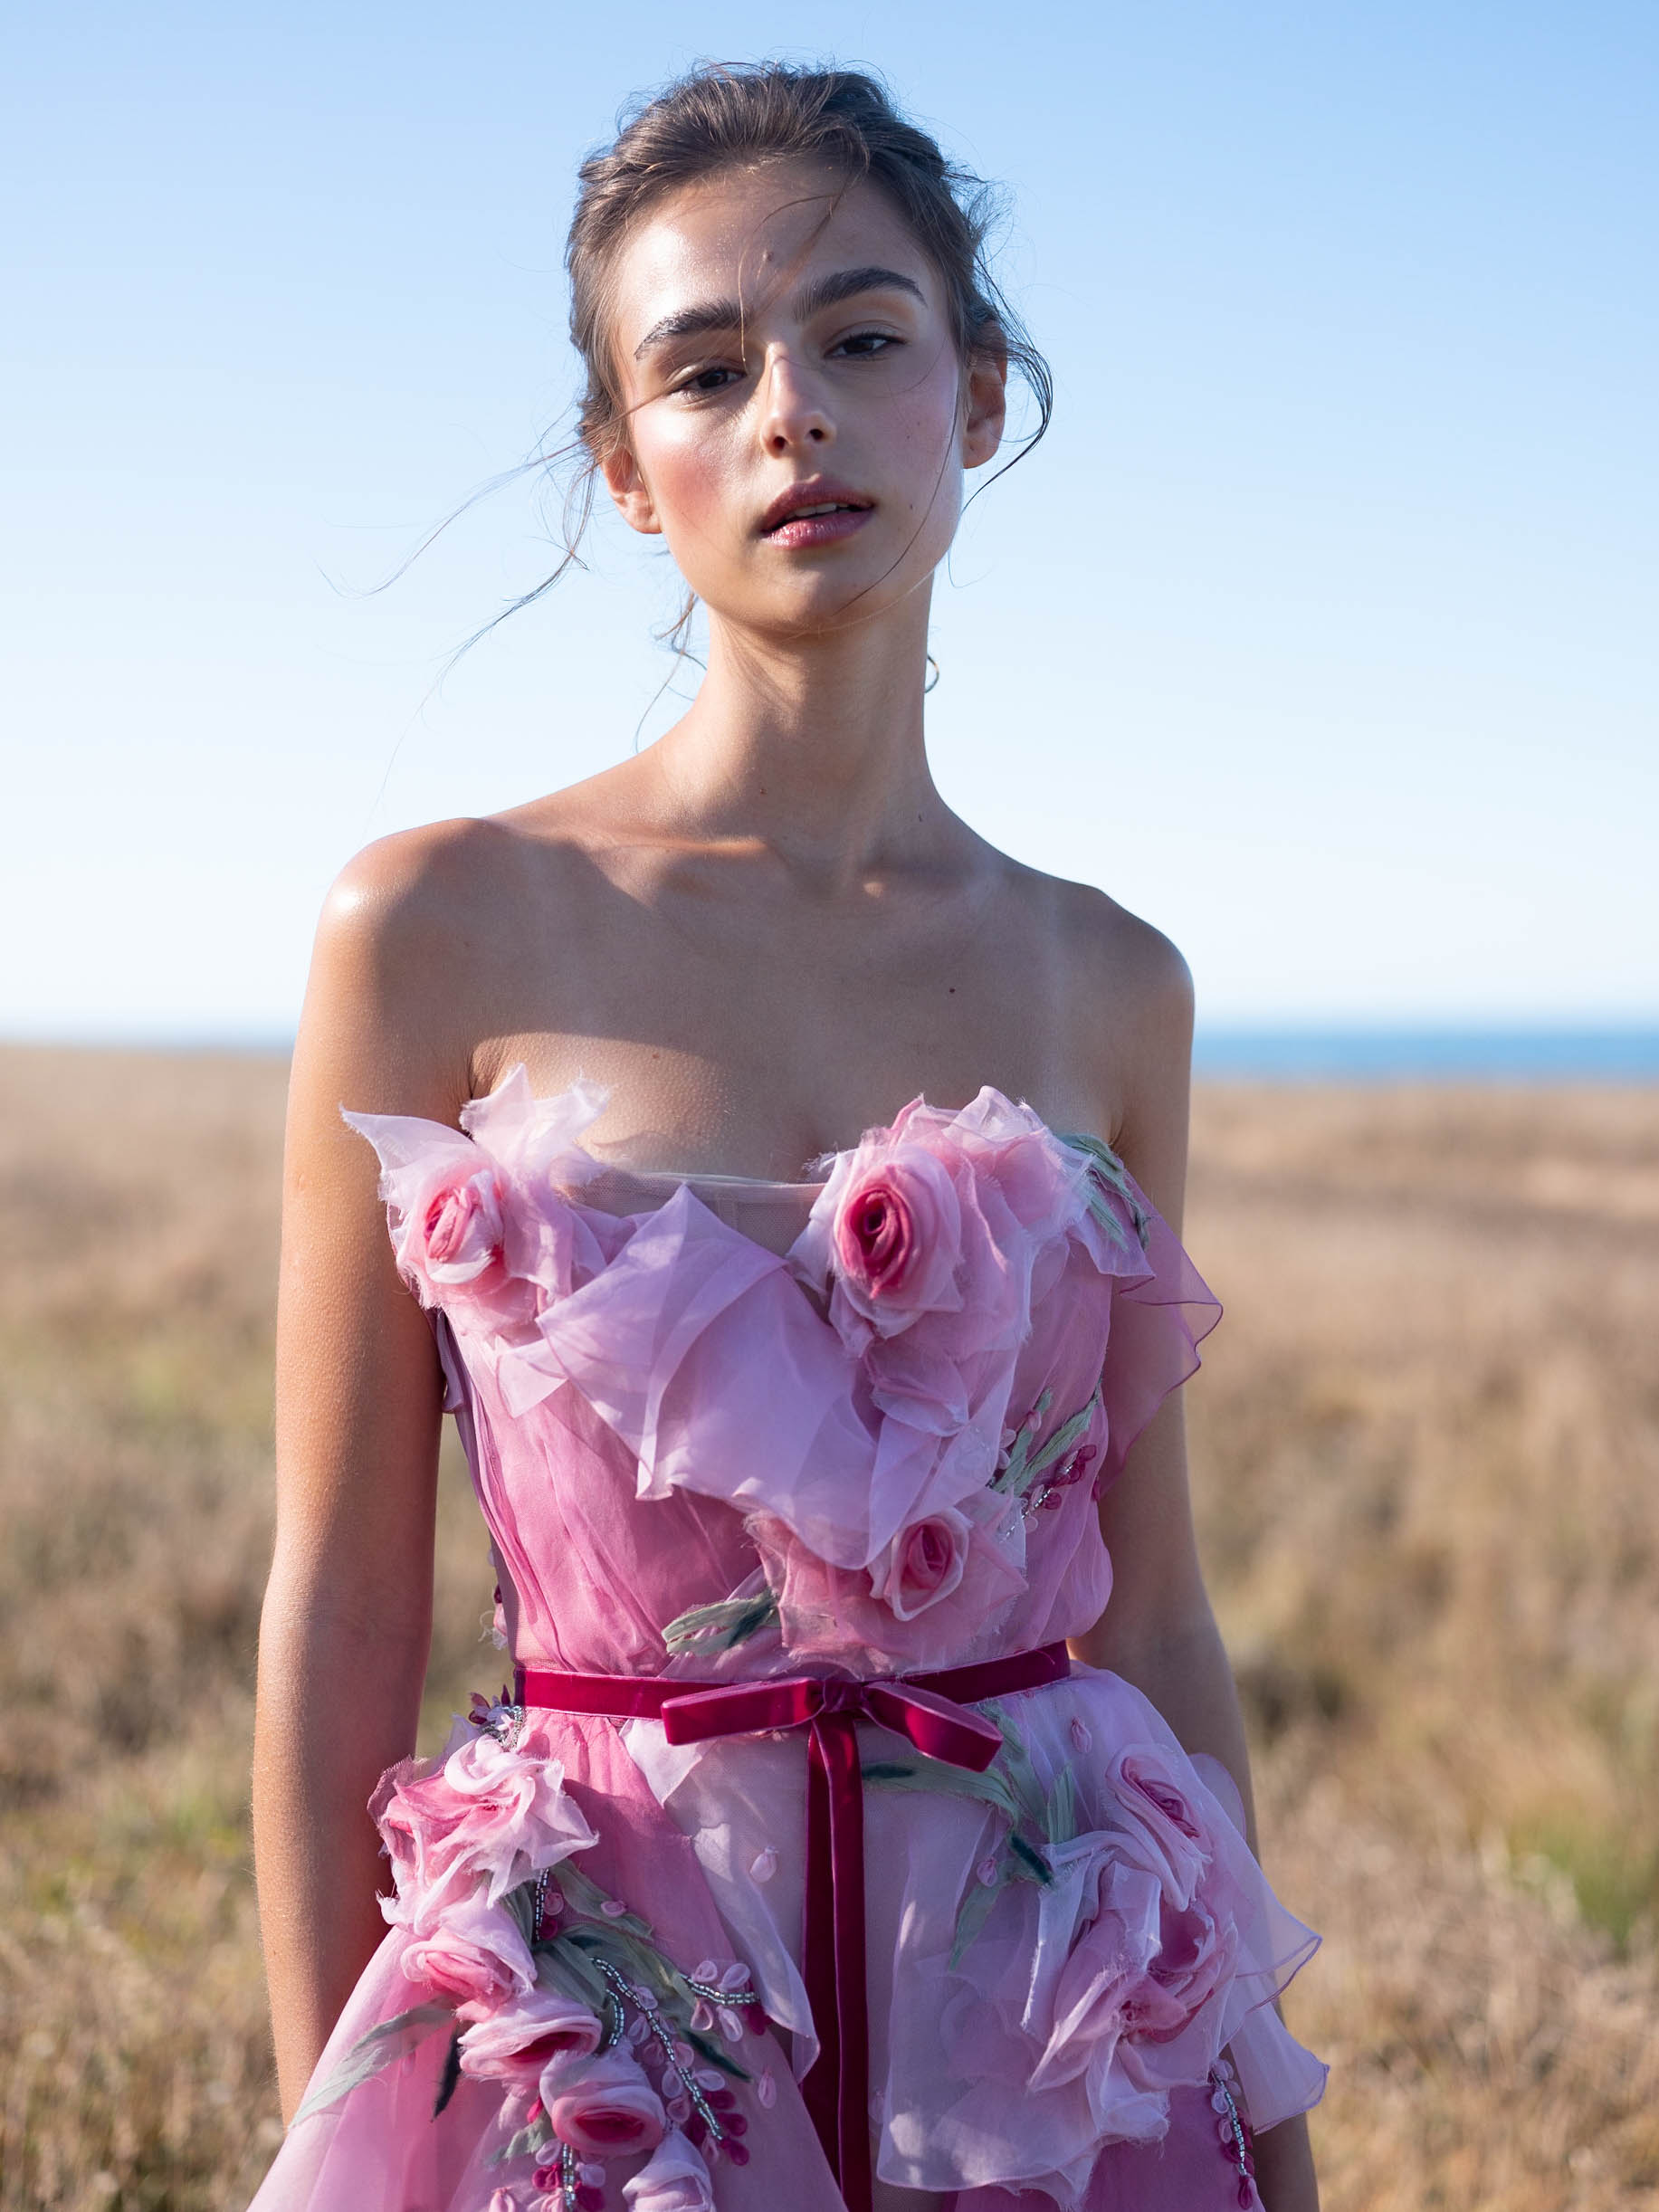
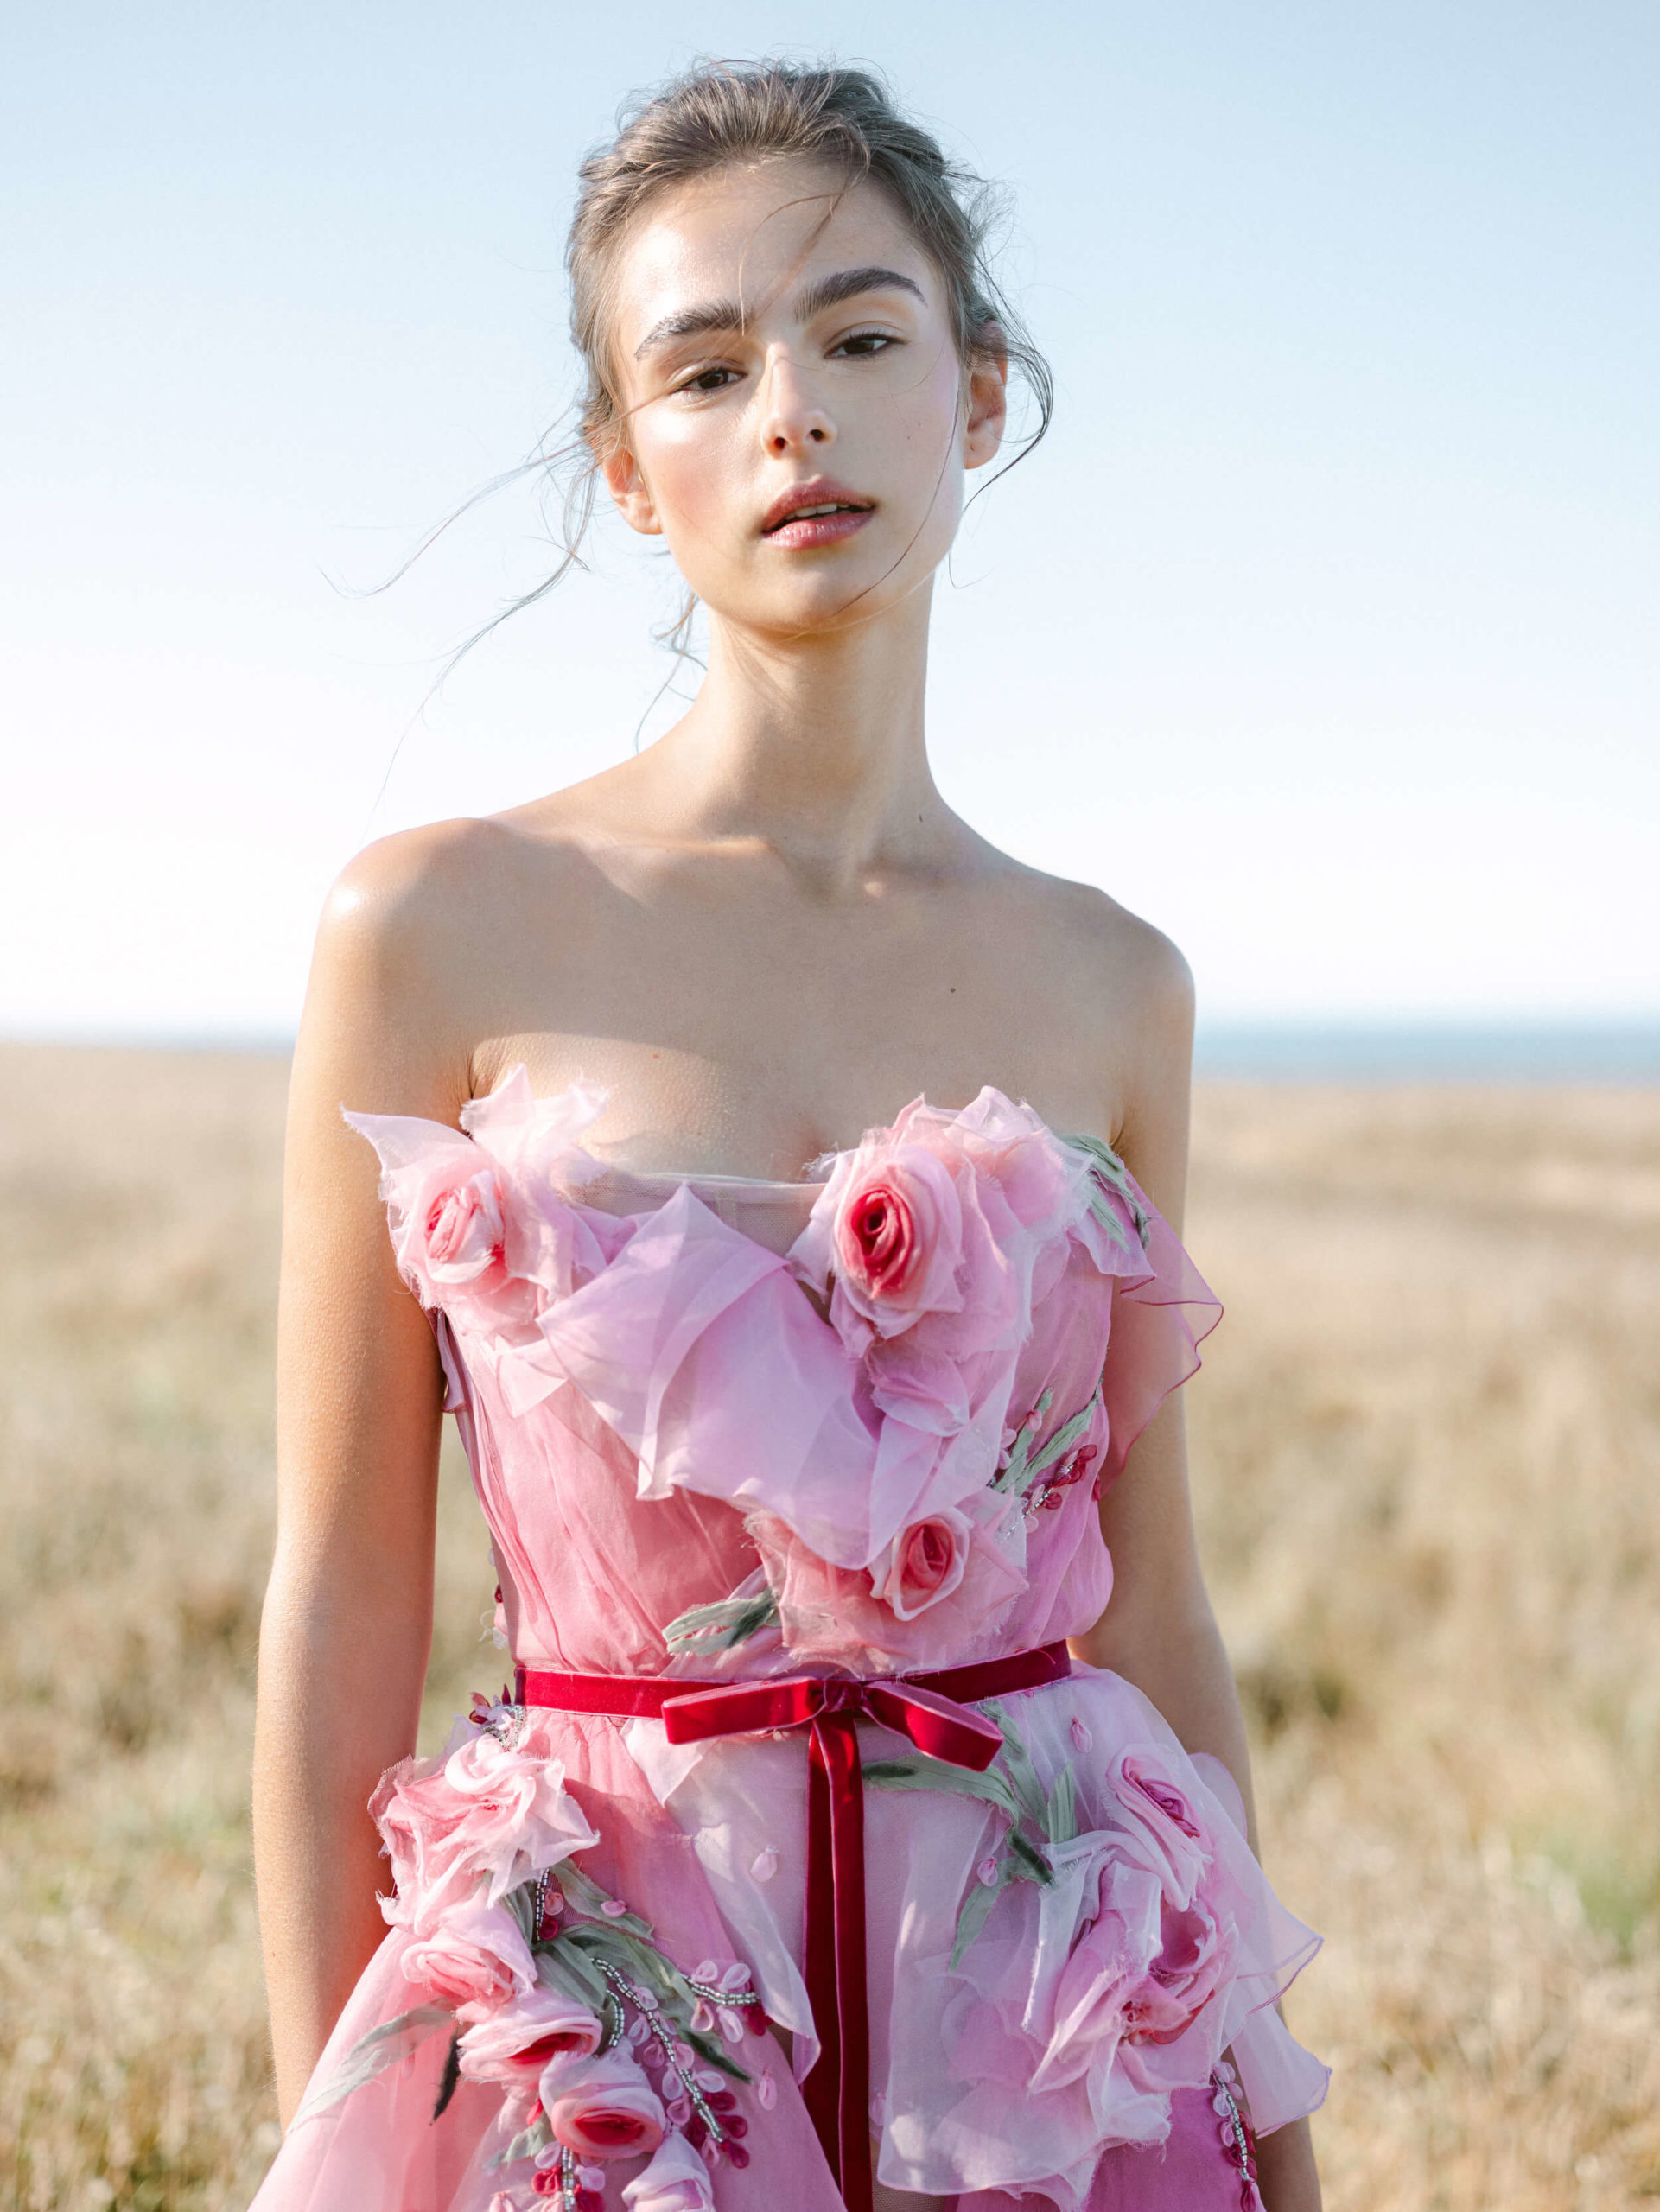
5. Go Back and Re-Edit.
This is a bit of a Pro Tip, and it doesn’t match up with everyone’s workflow, but it’s a critical part of my workflow so I want to mention it. Over time I recommend that you keep your RAW files, and go back to your portfolio and re-edit images to reflect the more refined aesthetic you’ve developed. There’s no need to re-share these re-edited images with your past clients; these are just for enhancing your portfolio.
Re-editing your earlier images will contribute to that cohesive look that your clients will come to recognize you for. Your portfolio will be instantly elevated just by matching your early work to your more refined, current work.
Your portfolio will be instantly elevated just by matching your early work to your more refined, current work.
I also challenge you to go the extra mile: Look through your older images and find the ones that really worked. Learn from what worked in those images, and what didn’t work in others. Learn from them and it will help you to shoot differently in the future.
Go Mobile
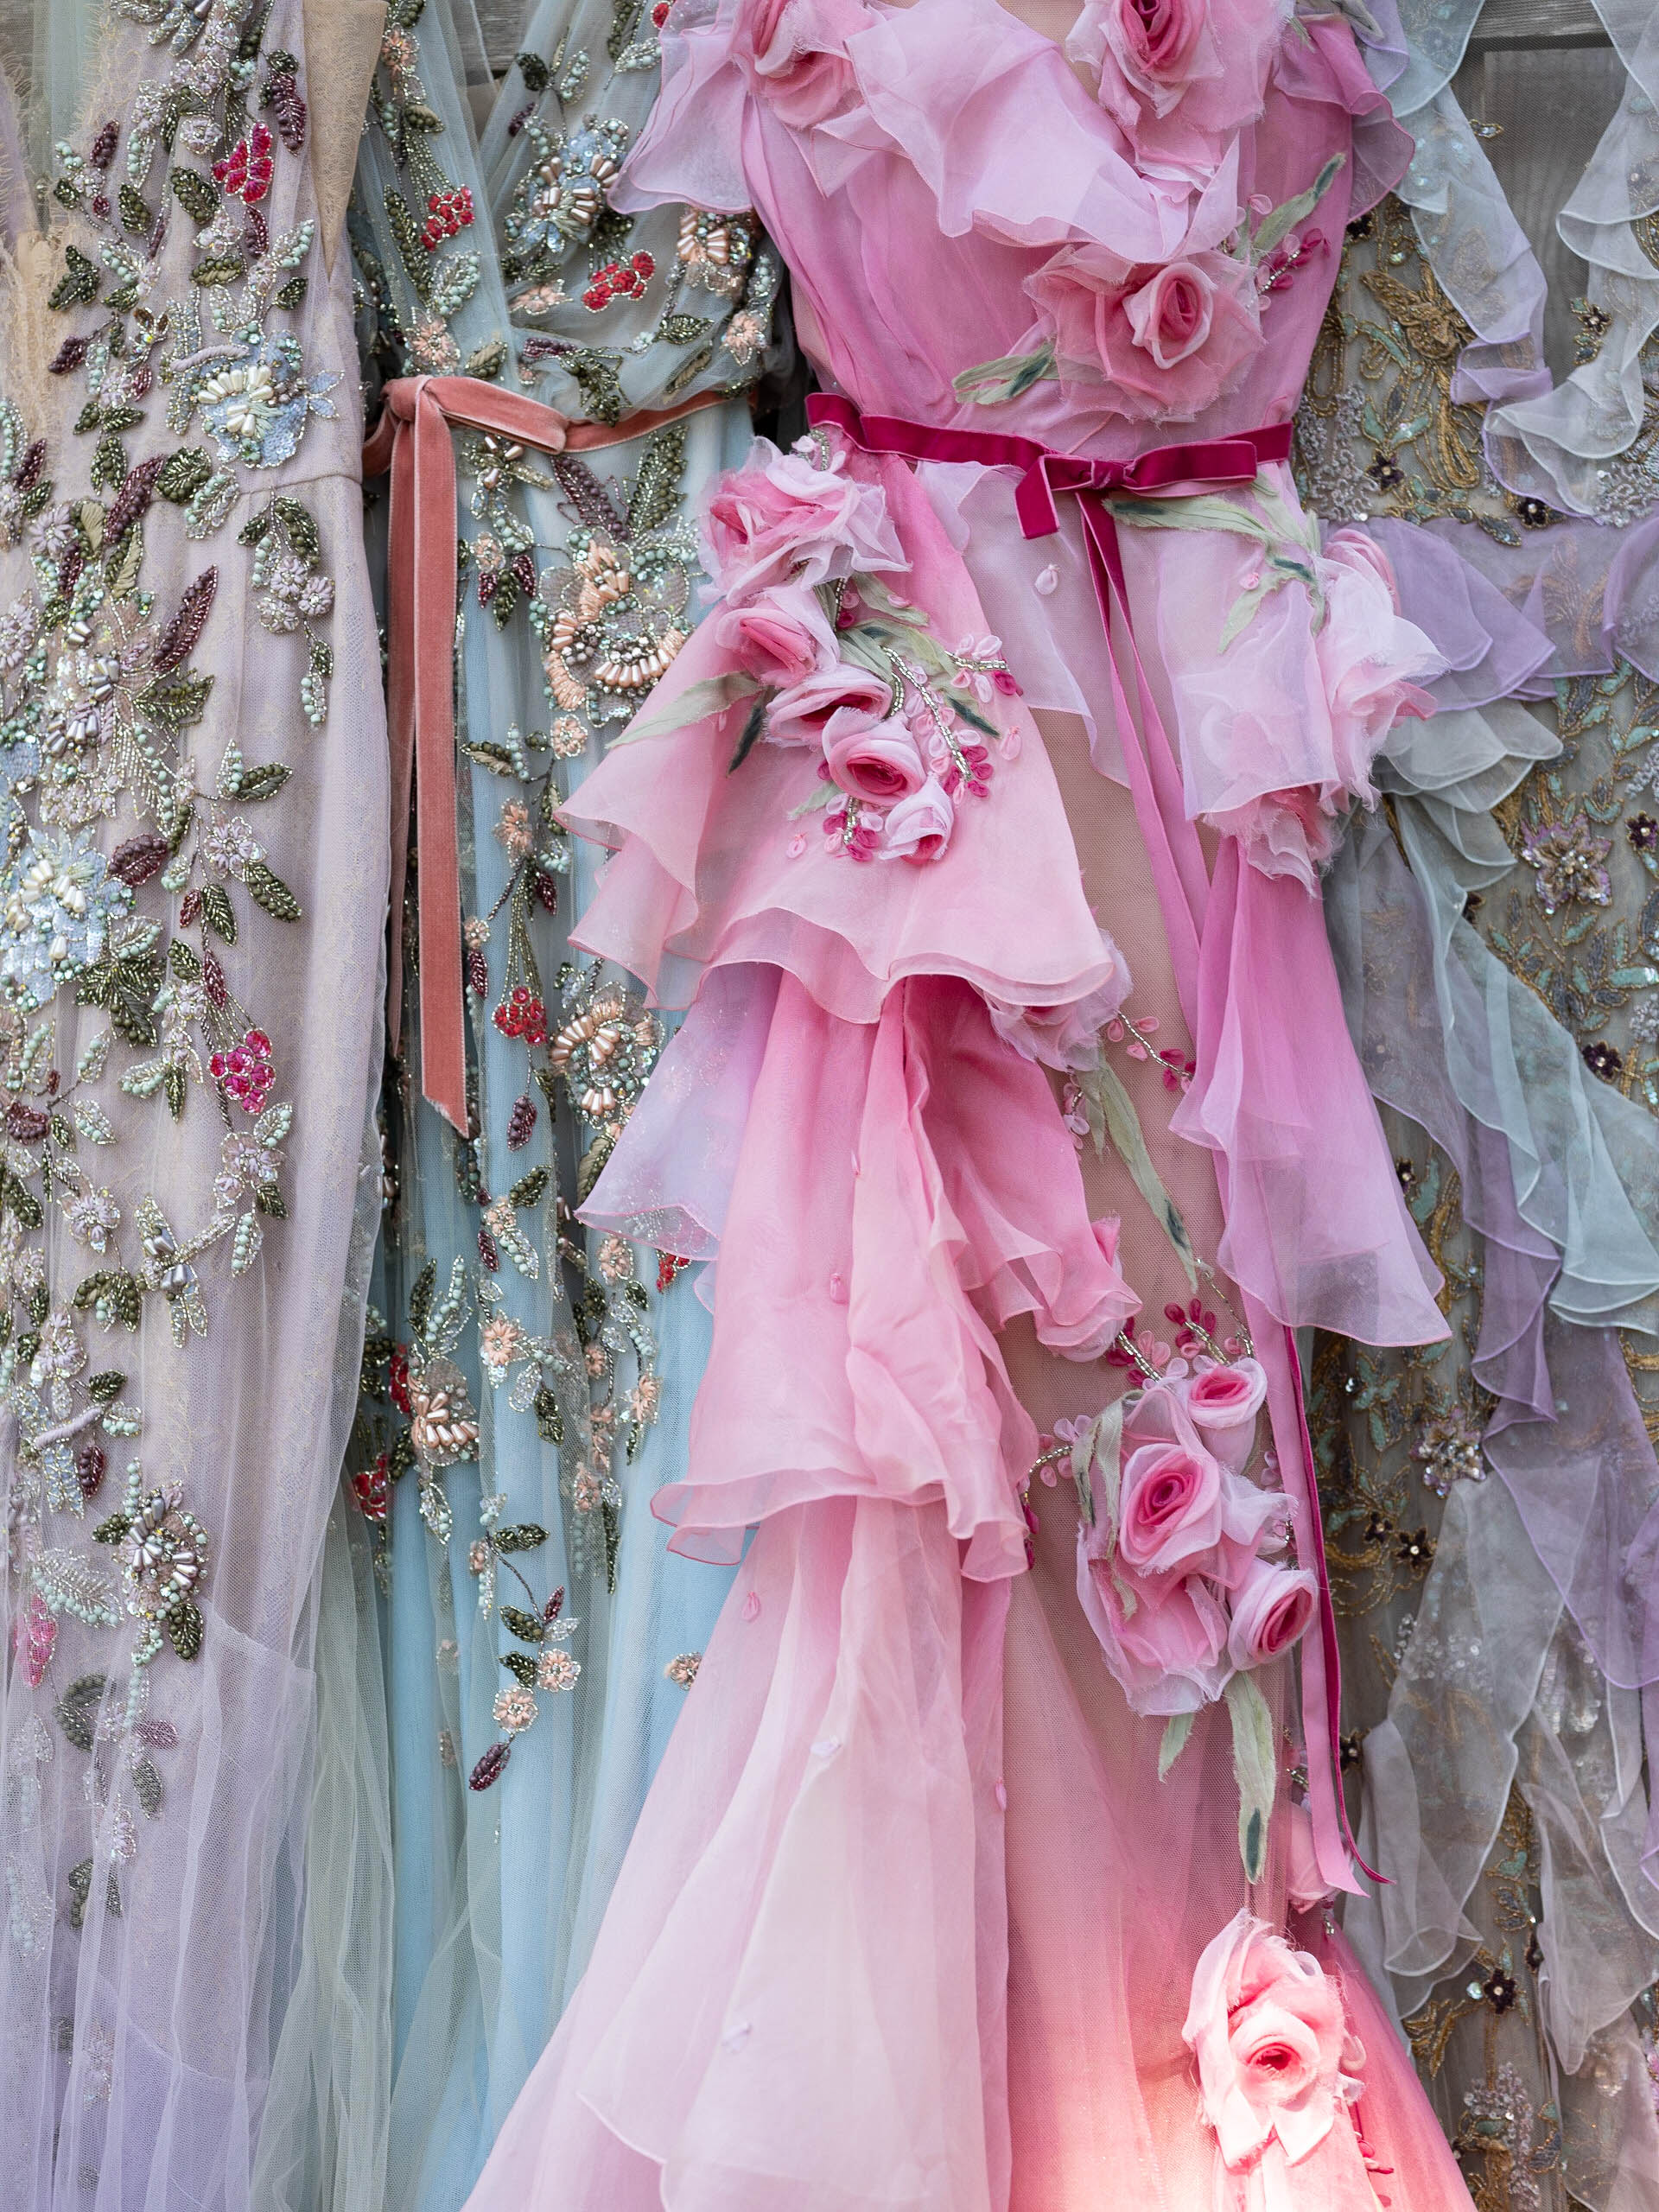
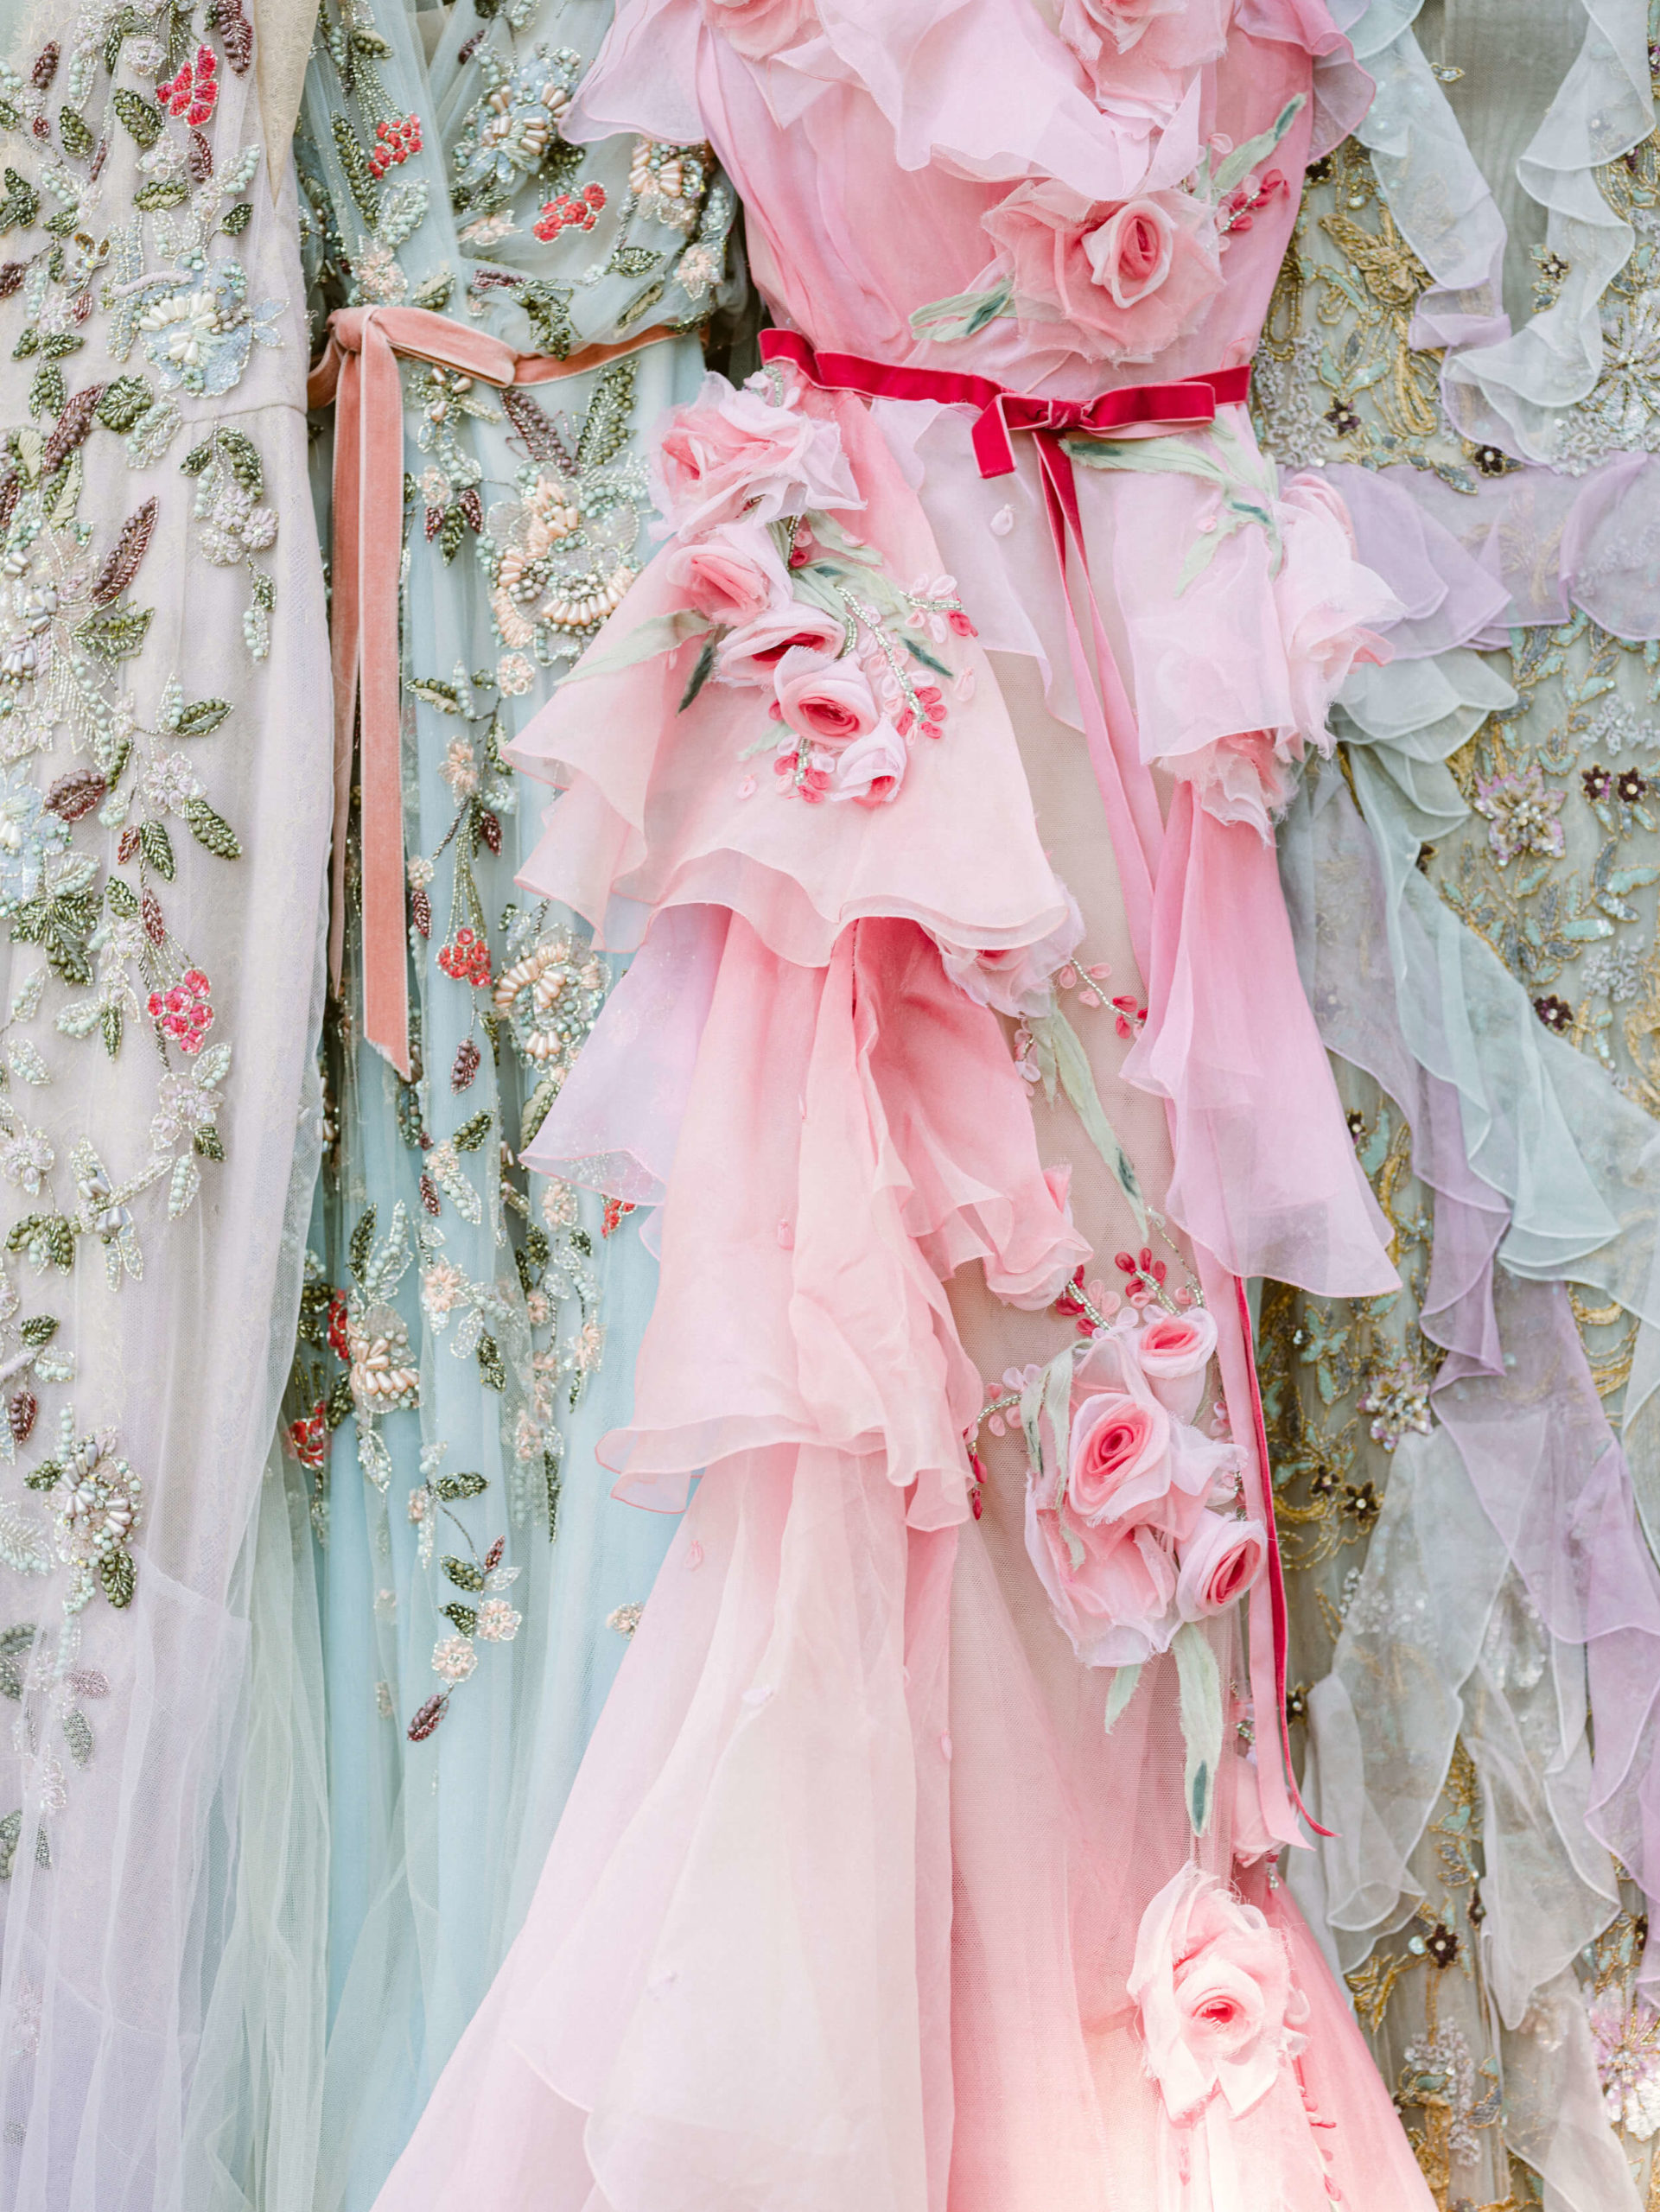
I can’t tell you how much I love using the presets on my phone! When I want to quickly post an image on Instagram or Facebook, I use Lightroom Mobile with my mobile presets. A few clicks and my image is matched to the rest of my feed and I’m off to the races! In this fast-paced, social-media-driven world, I cannot run a successful photography business without my set of mobile presets.
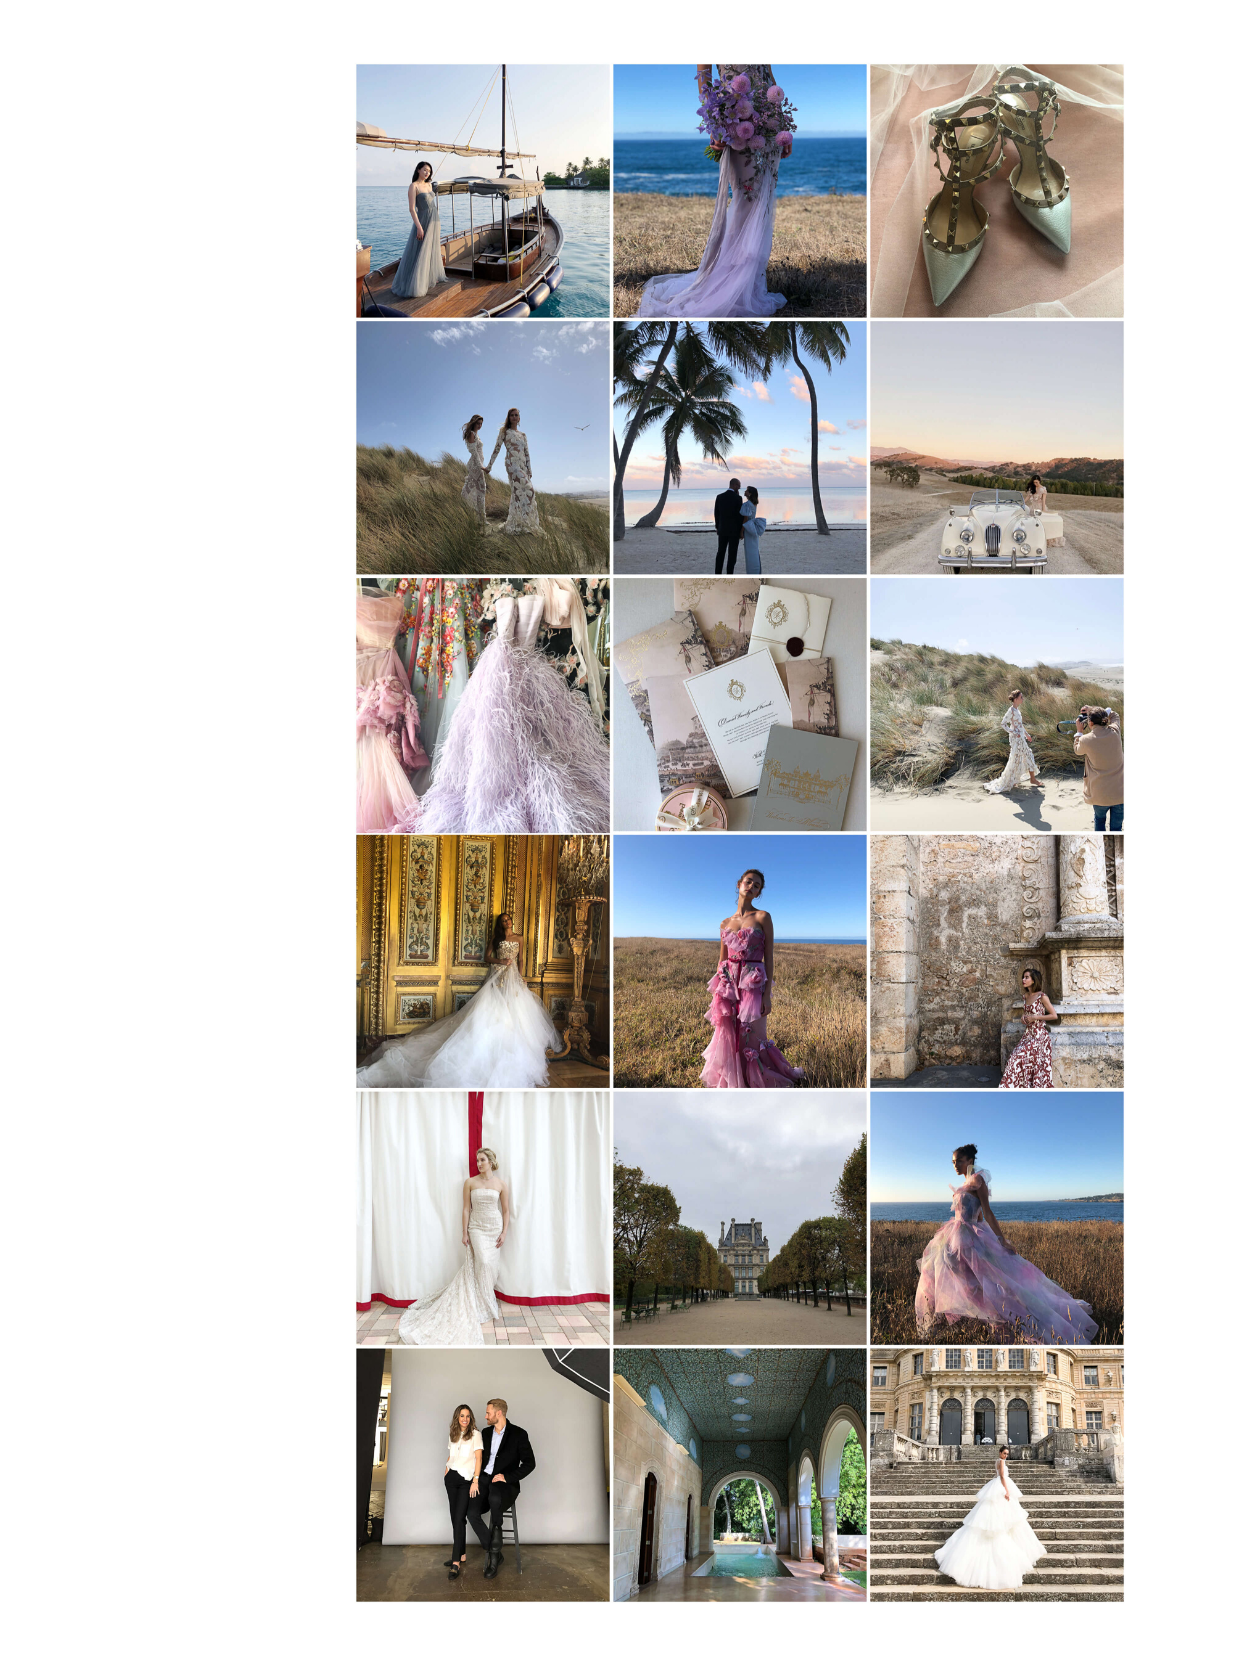
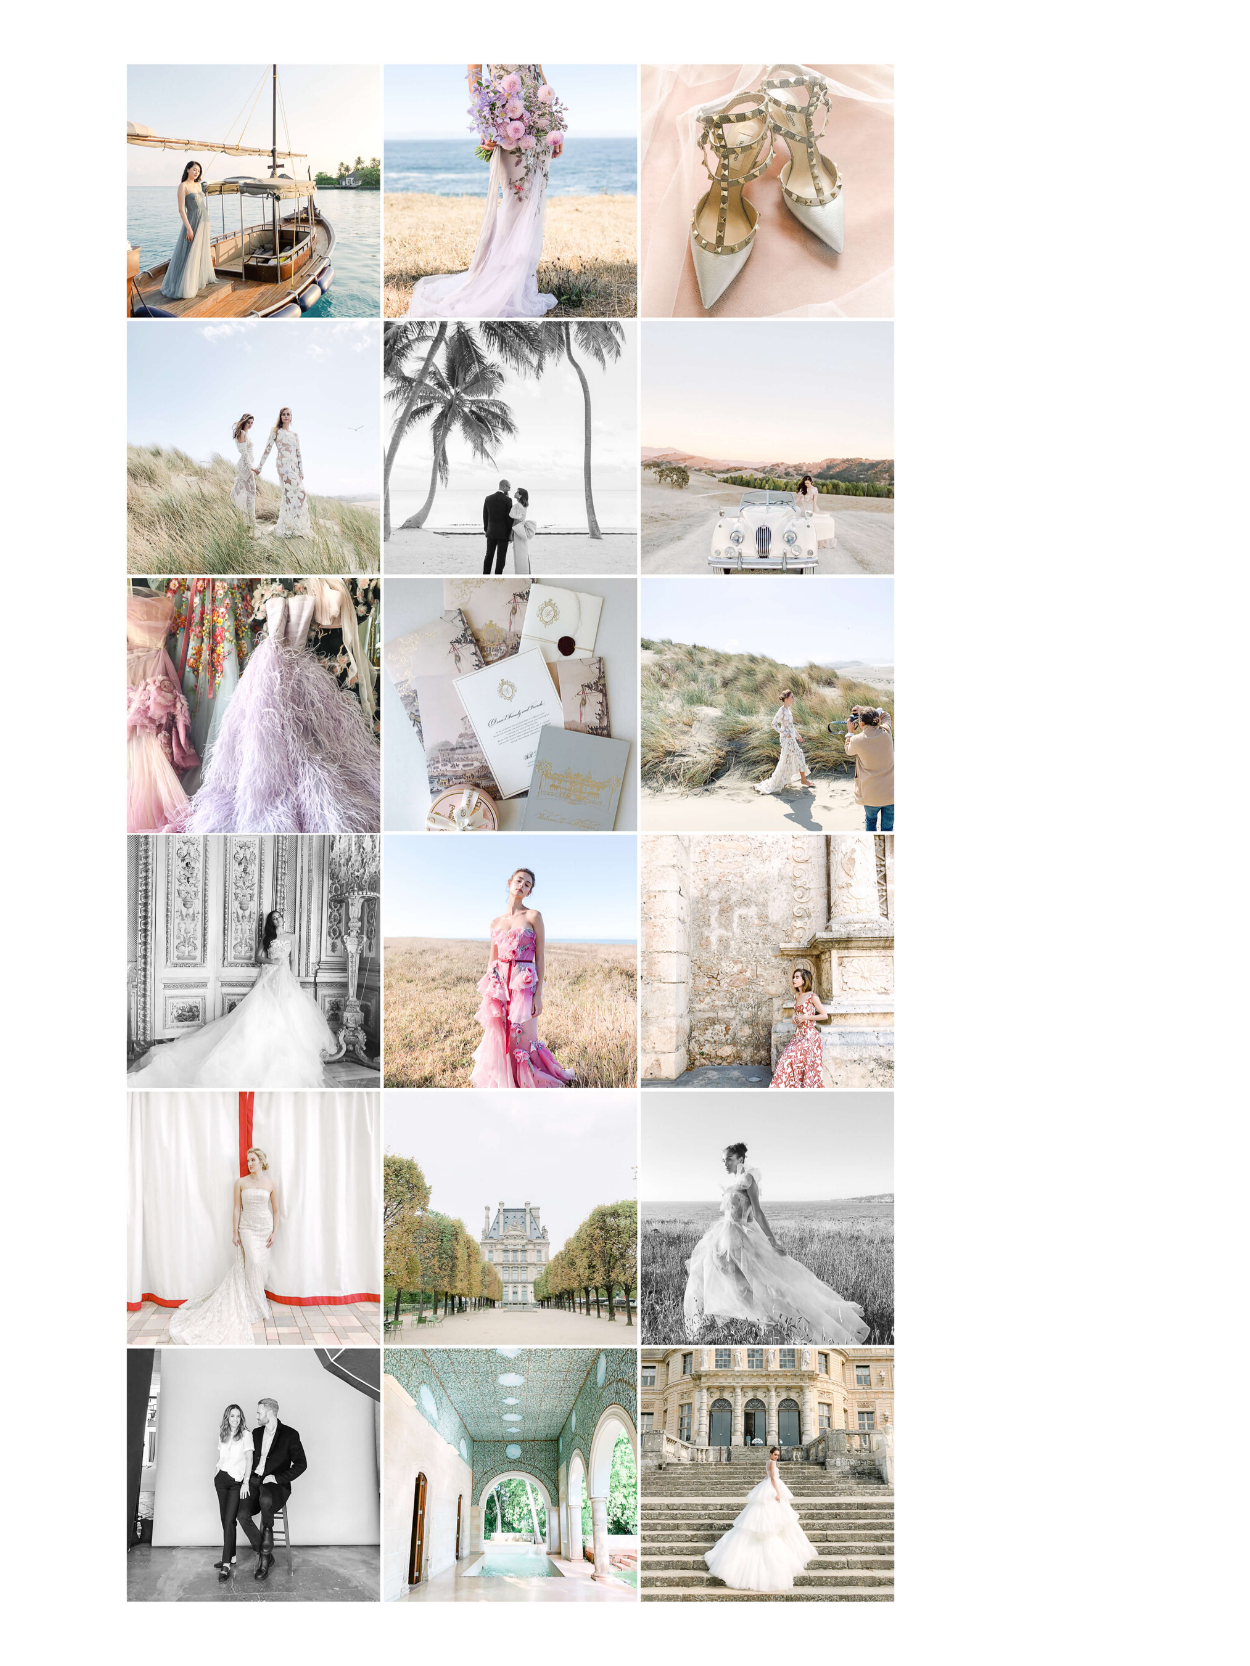
To learn How To Install your KT Merry Mobile Presets, watch here:
I hope these tips help you find the perfect editing workflow for your wedding images. Keep an eye out for video presets from Refined Presets Co., which are currently in development to come out this year. And if you’re currently using the KT Merry Presets and you love them, let us know in the comments below!
More of a visual learner like me? I made a video to walk you through this entire editing process, step by step.
Watch KT Merry and Marta walk through the entire Hybrid Workflow with KT Merry x Refined Co. Presets:
Looking to refine your entire photography process?
Inside the only program of its kind, I pull back the curtain on my personal creative approach to every photography job—from client inquiry to post-production workflow to delivering final, stunning selects to your clients—so that YOU can develop your own masterful methods.
Click below to learn more about The Merry Method and get priority access on the waitlist.
XX,
Leave a Reply Cancel reply
BEHIND
LENS
Hello, I'm
KT MERRY
I
've spent the past decade capturing love and chasing beauty across the globe, and I believe every story like yours is different and special, and deserves to be told exceptionally.
Drawing on years of experience in the fashion and editorial photography industry, my photographs are graceful, honest and boldly natural, while completely intentional. Whether it’s the opportunity to narrate the retelling of once-in-a-lifetime wedding days, or the ability to communicate issues of global importance, or all the stories in between, I look at photography as the method by which I get to leave the world a little better than I found it.
LEARN MORE ABOUT KT
PHOTOGRAPHER
home
presets
shop
contact
the abundance plan
resources
JOURNAL
back to top
portfolio
Get The Newsletter
Sign up for our weekly delivery of tips, tools and inspiration— and never miss out on exclusive, behind-the-scenes glimpses at what we’ve been shooting!
